Hi all,
When I was in the US for Synergy with my family I got an Amazon Echo Dot in birthday present. I wanted to get one of these to use with Citrix Octoblu so now that I am home again I have spent some time getting it to work and yesterday I finally got it working as I wanted to. The first things I have done with it is to turn on my Sonos speaker, set the volume and turn it off. I have also done a few things with Phillips Hue, but that will be expanded a bit soon.
In this small guide, I want to do a visual guide on how to set up the integration between Alexa and Octoblu since the guides I found was in writing only and I had a few problems making it work. I have created the guide to first do the work in Octoblu to create the “thing” that you need, then set up Alexa with the information needed there and lastly test it out with a flow in Octoblu.
I did use this guide from Github myself, but I felt that I was missing some information and it took quite some tries to get it working, but without it I would have been really lost 🙂 https://github.com/octoblu/alexa-service#creating-custom-skill
UPDATE: Thanks to Dave Brett I have done an update to the article. I is a requirement to have the same language on Alexa and the Alexa skill, so I have added a few screenshots to show those settings.
Getting the language you set up Alexa with
- Go to http://alexa.amazon.com/
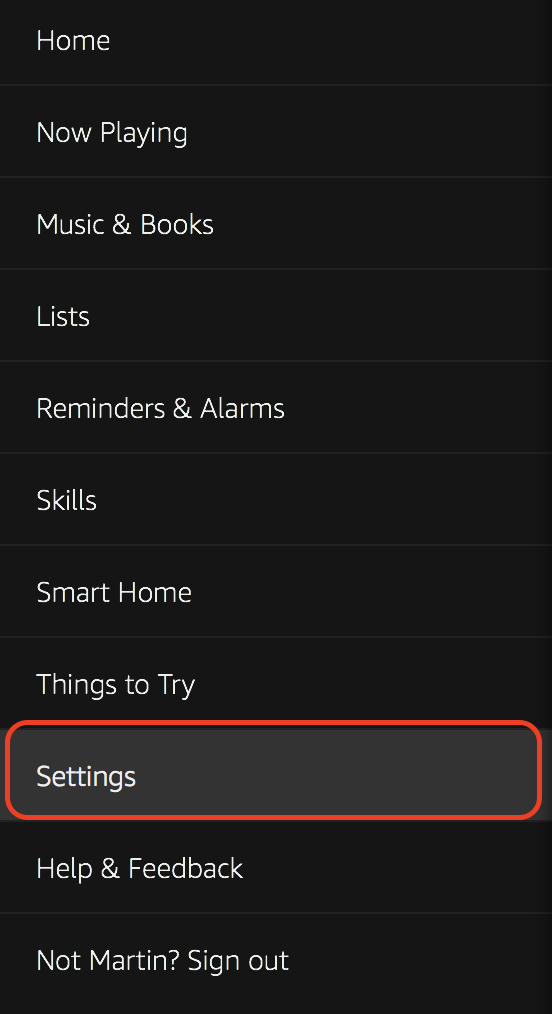
- Click on “Settings”
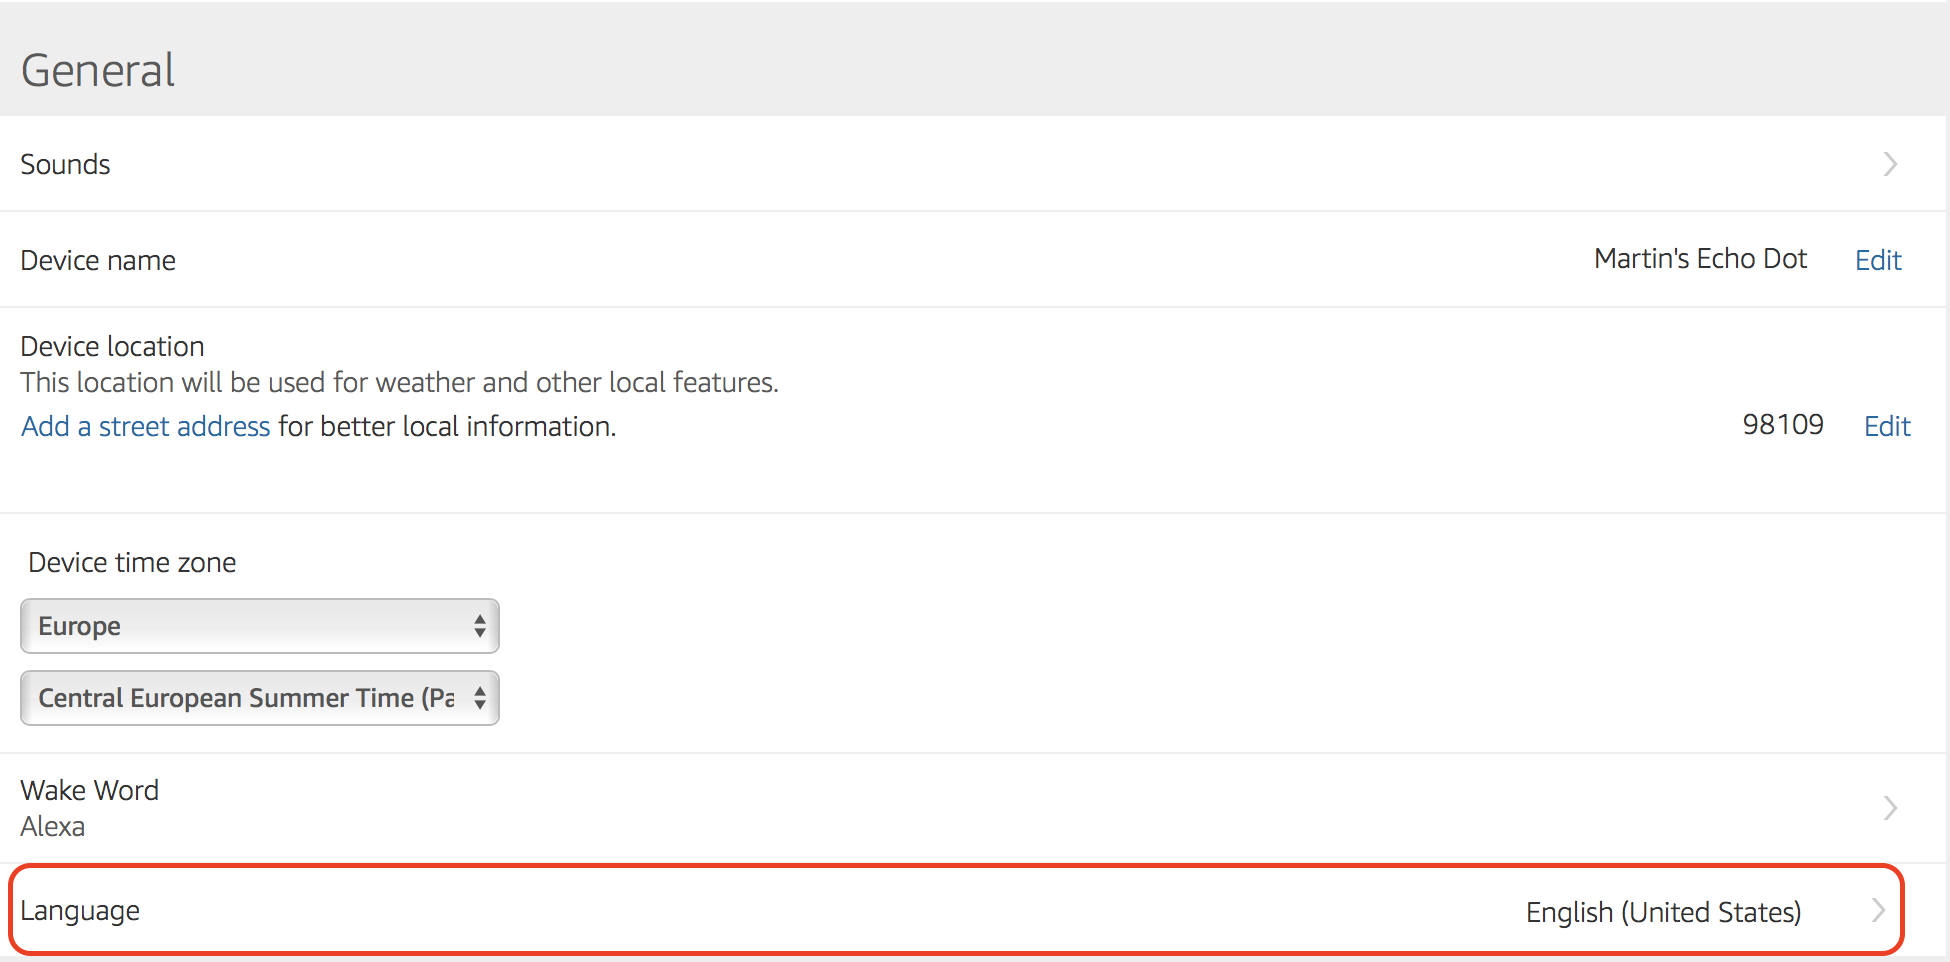
- In the “General” section note the “Language” setting. The Alexa skills needs to match this one, so if you want to change from UK to US English or vice versa do it now by clicking on the “English (United States)” and selecting the language of your preference.
Creating the “thing” in Citrix Octoblu
- Go to https://app.octoblu.com/ and sign up for an account if you don’t have one already
- Click on “Things”

- Click on “All Things”

- On the top right enter “Oauth” in the search field and click on the “OAUTH APPLICATION” that is shown under “Octoblu” section.

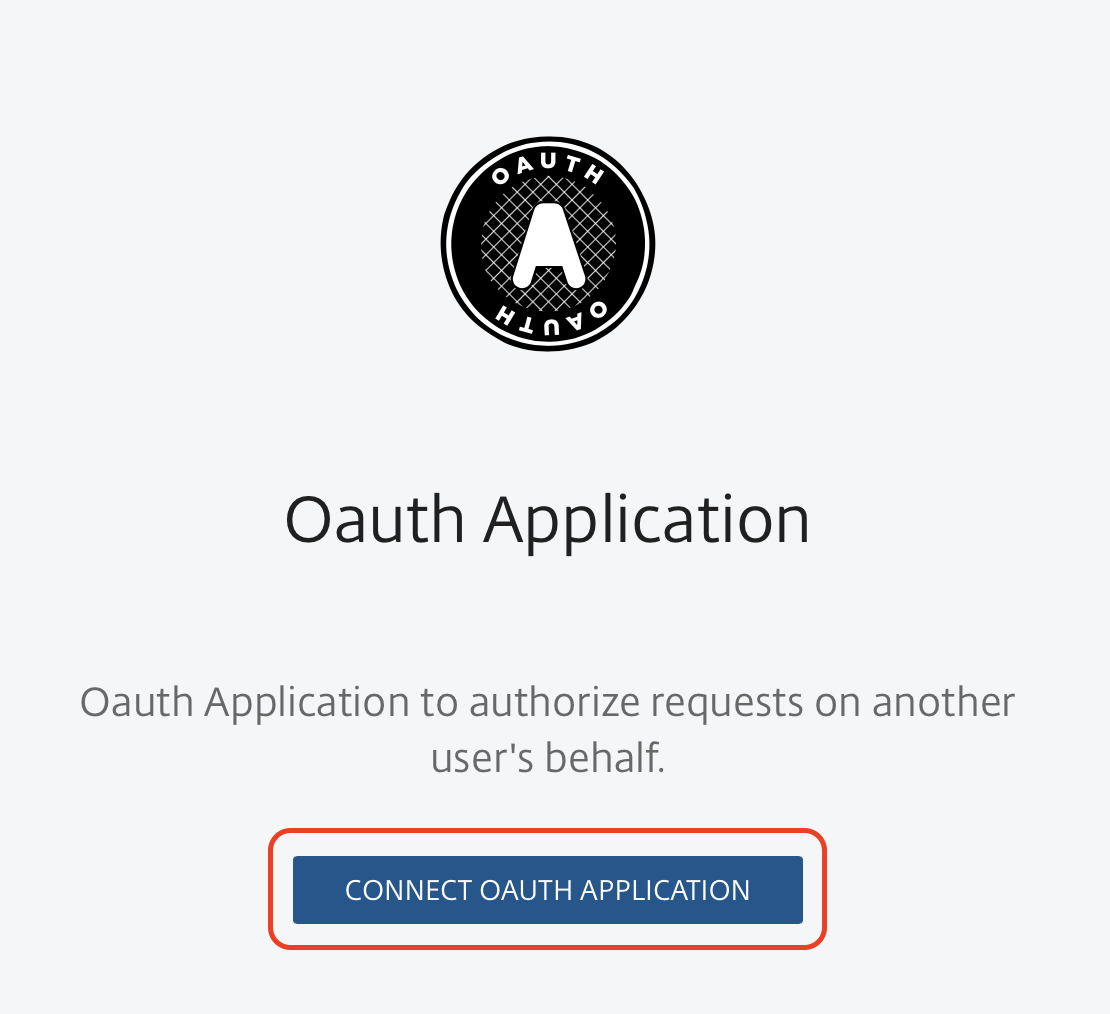
- Click on “Connect oauth application”
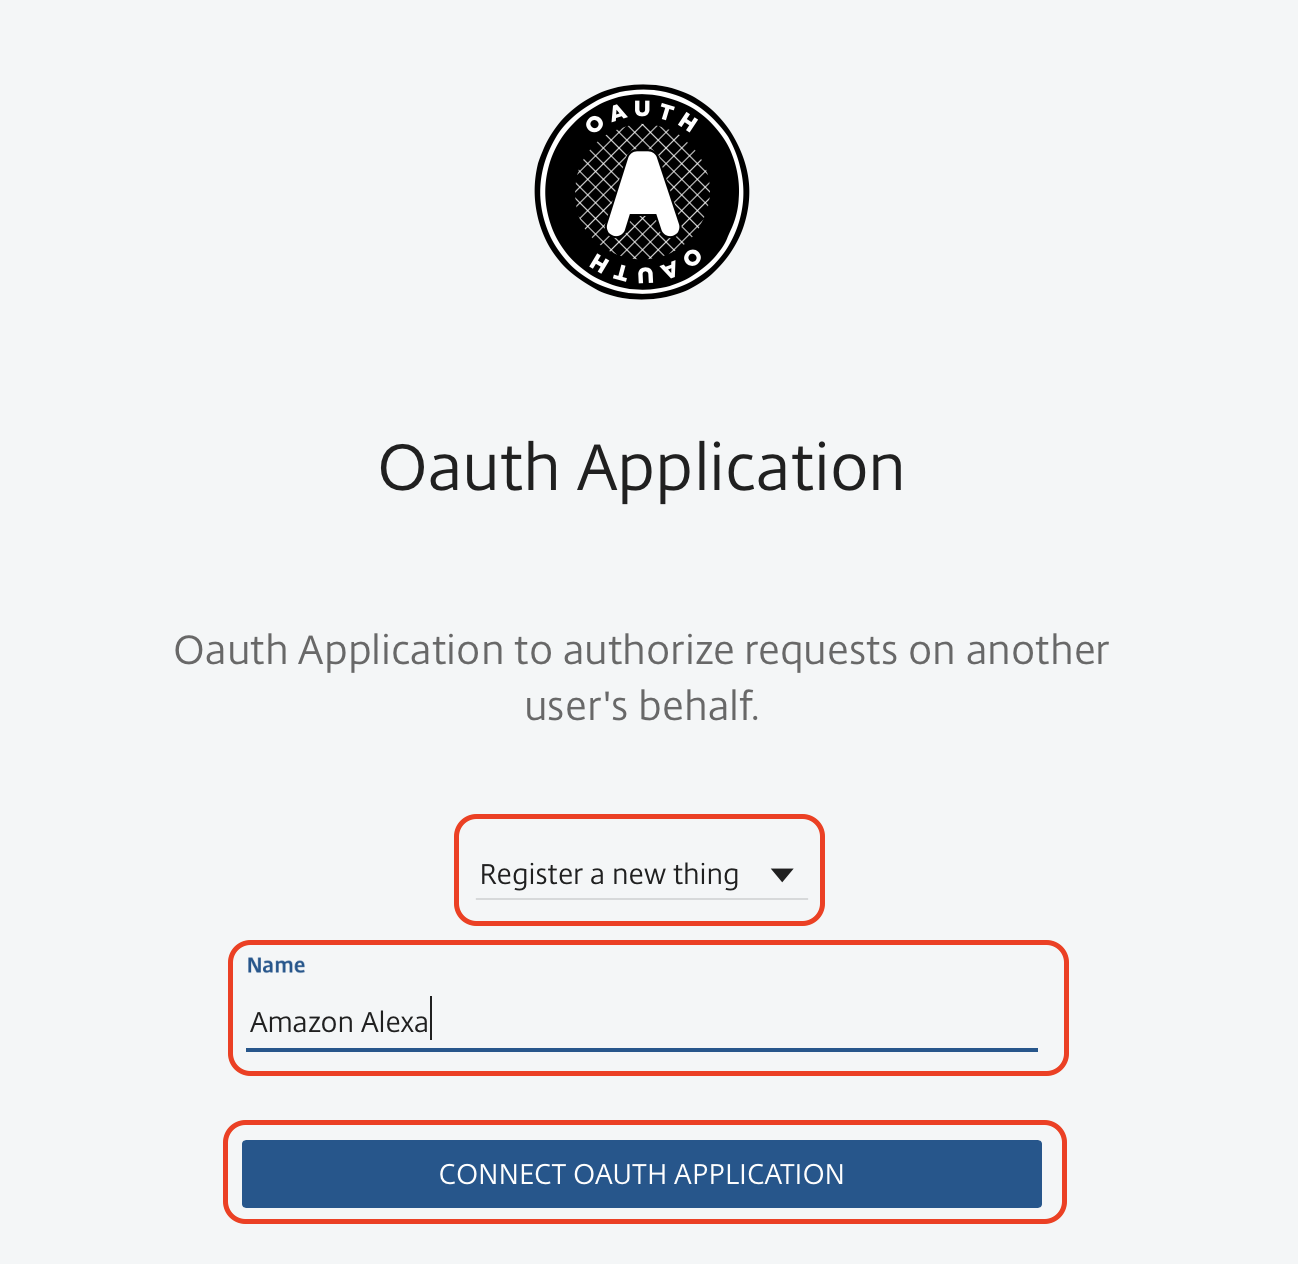
- Make sure it says, “Register a new thing” and give it a name and then click on “Connect oauth application”
- When created go to “My Things” section and click on the oauth application you just created.
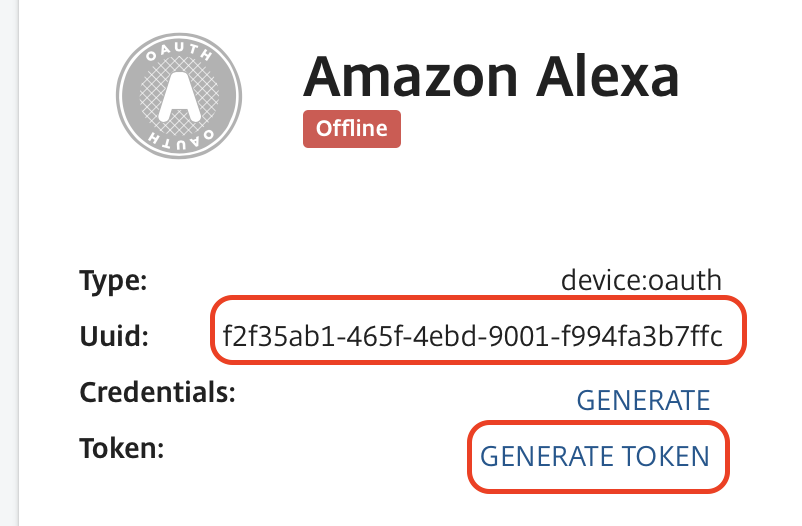
- For setting up Alexa you will need the UUID and a Token from this page. You can either keep it open or copy/paste the information into notepad or whatever app you use for notes. So, when you have the UUID click on “Generate Token”
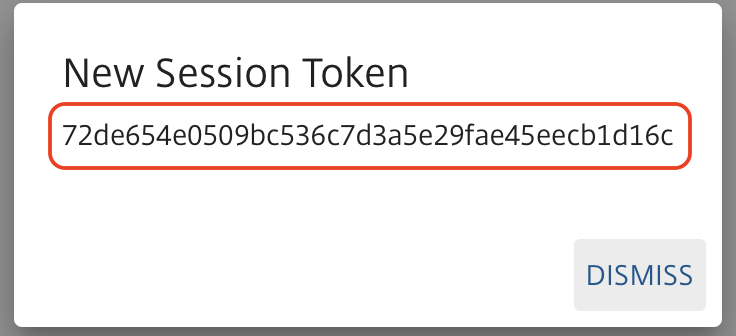
- Note down the token number so you have it for later use in Alexa
- Give the app a name, and note that the “CallbackUrl” will be filled later.

- Click on “Permissions” and set “Can be discovered by” to “Everything”

- This concludes the first setup needed, now it is time to set up an Alexa skill.
Setting up an Alexa skill
- Go to https://developer.amazon.com/ and login with you Amazon account (you should have one since you have an Amazon Echo Dot.
- Click on the “Alexa” tab.

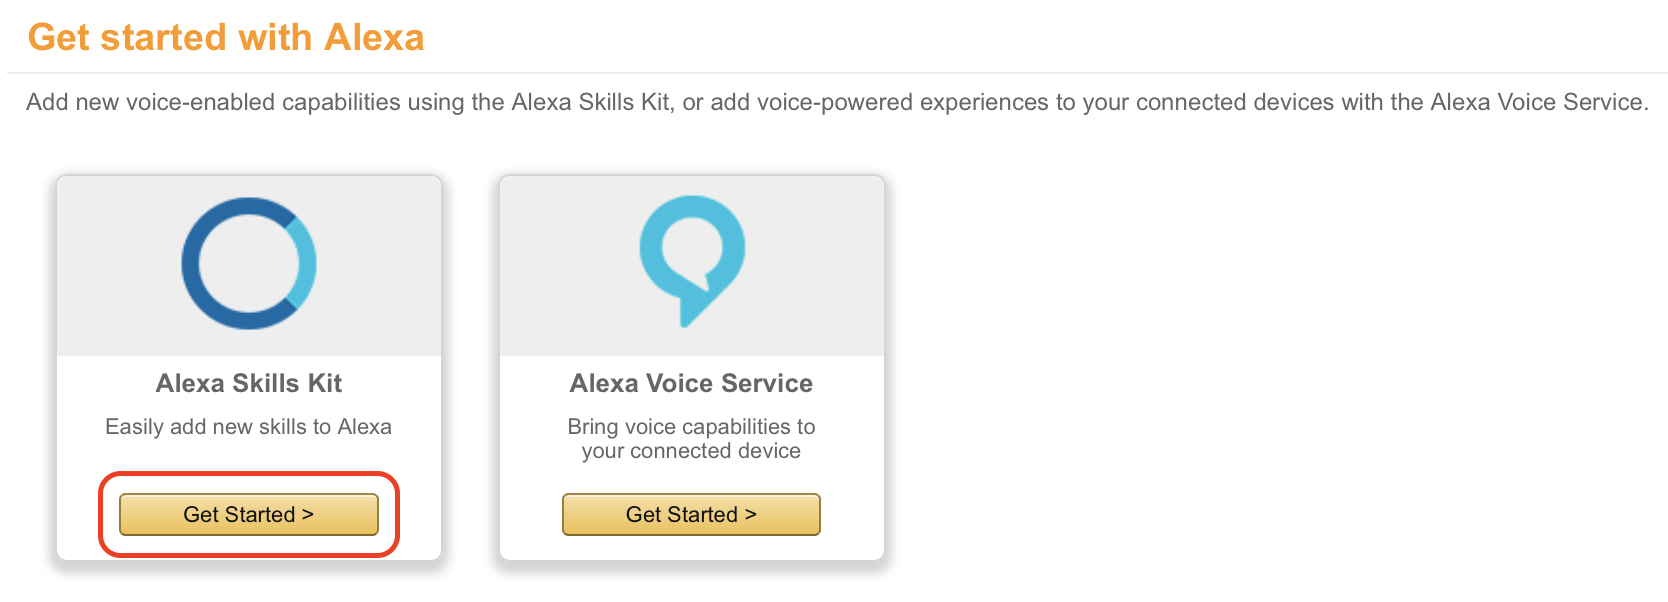
- Click on “Get Started” under the “Alexa Skills Kit” section.
- Click on “Add a new skill”

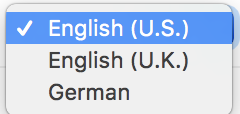
- Choose you language for the skill, this has to be the same as what we saw in the first part of this guide. In my case I have selected “English (U.S.)”, other choises are shown on a screenshot below, but remember to have the same on Alexa and the Alexa skill.

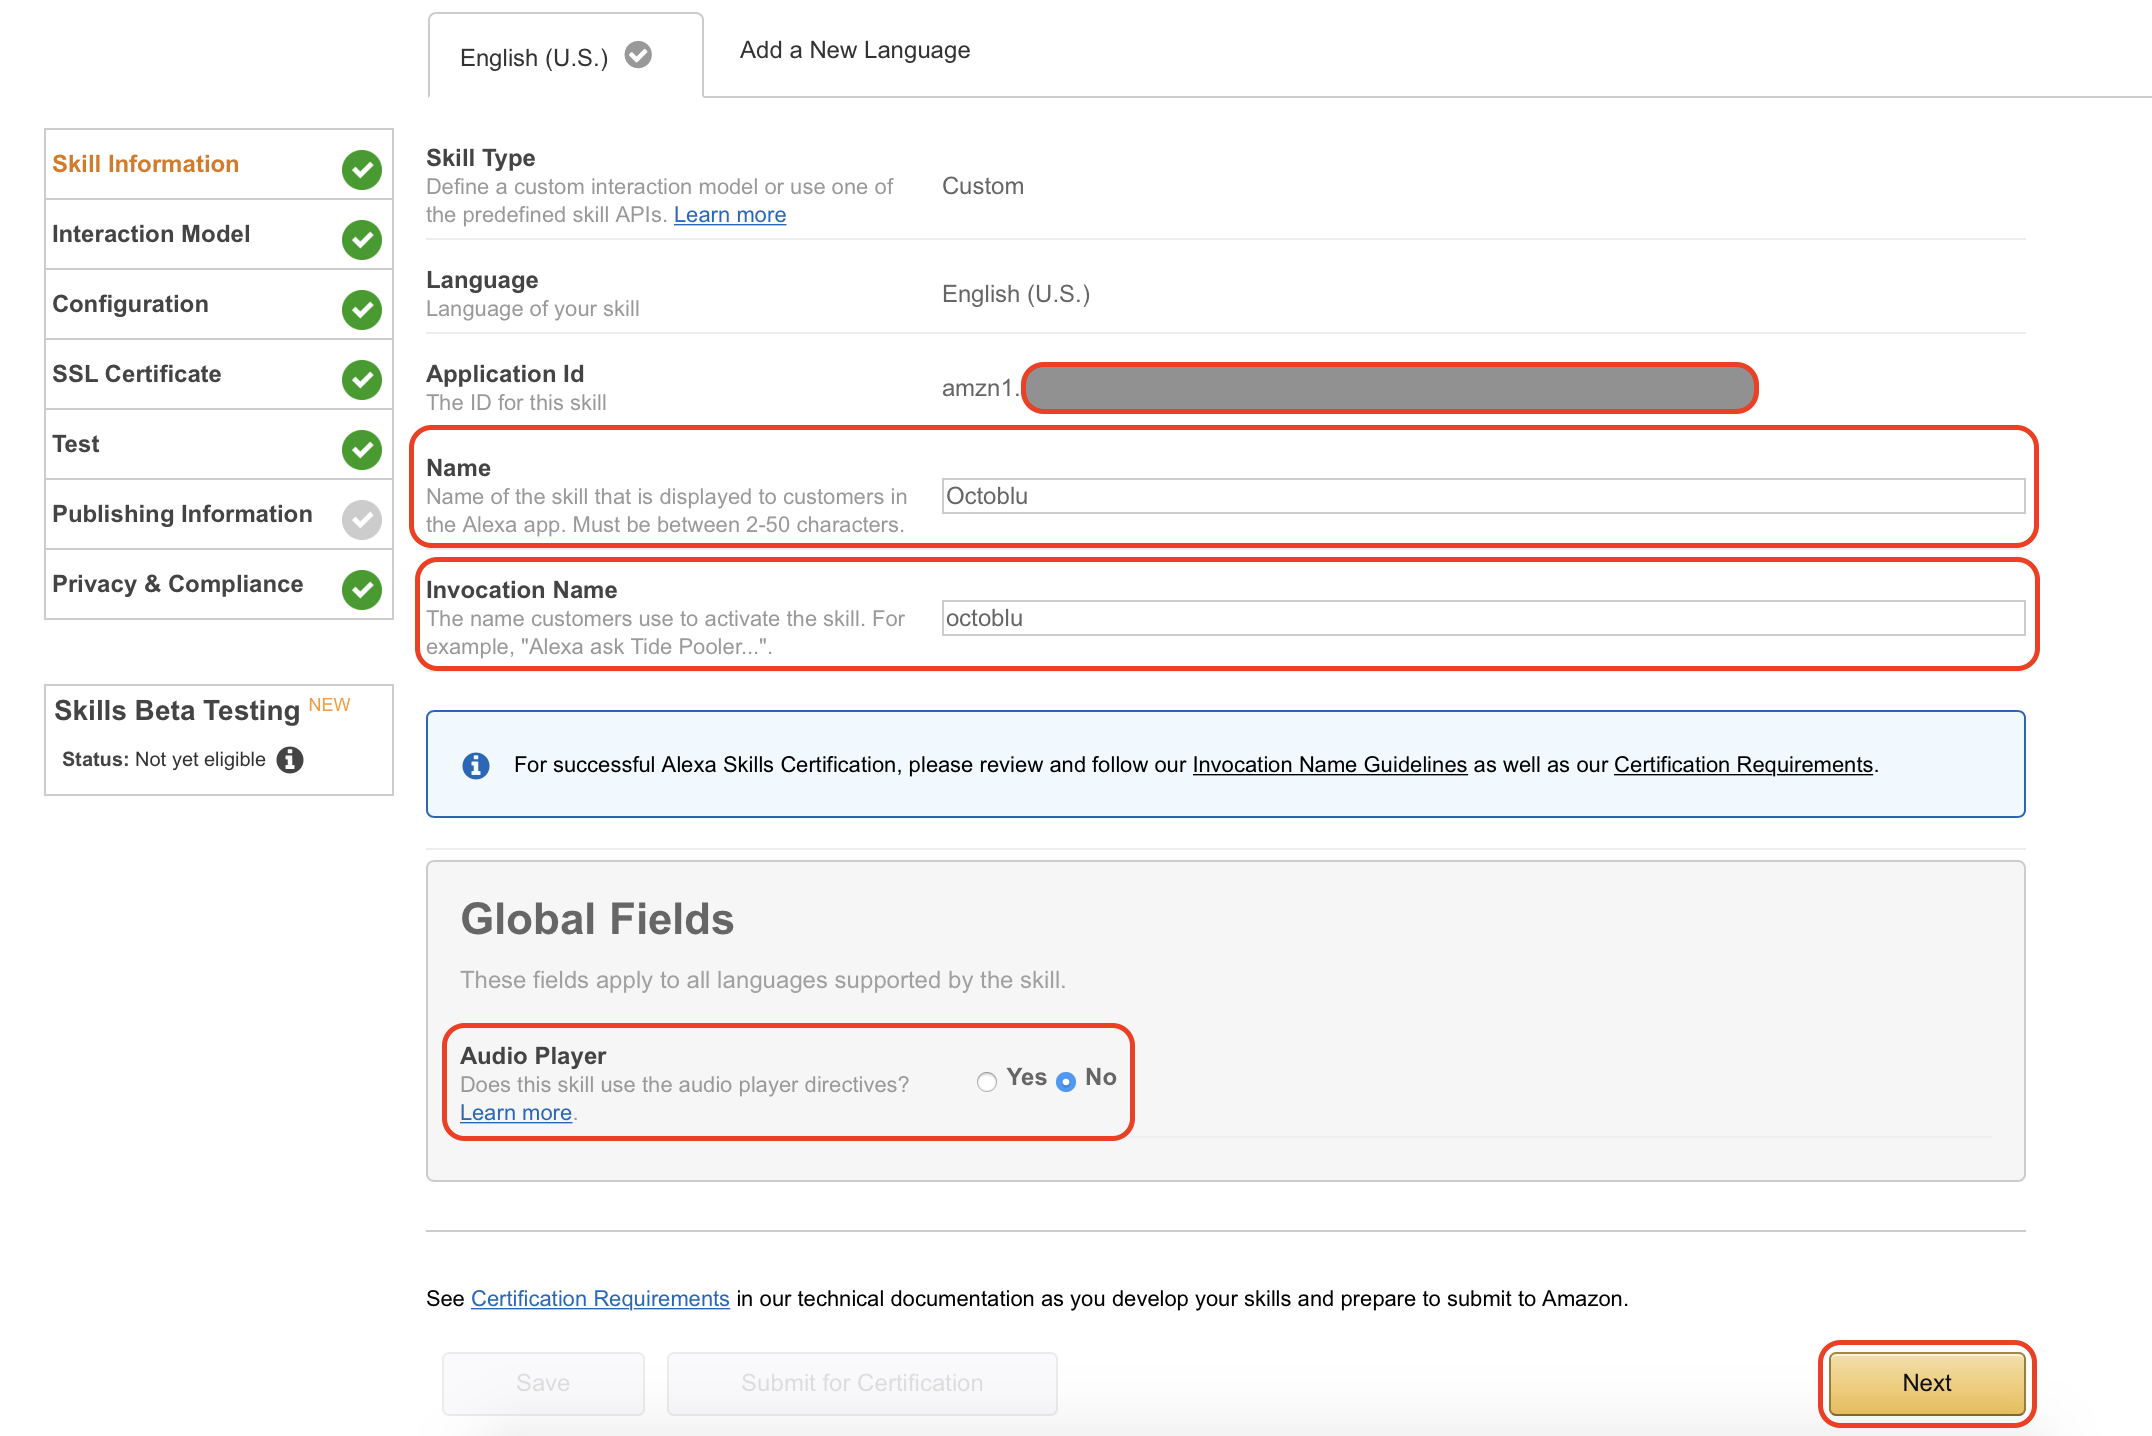
- On the first page, you must name your skill and you need to set the “Invocation name”. The invocation name is the name you use when activating Alexa”, in my setup it will work like this: “Alexa ask octoblu”
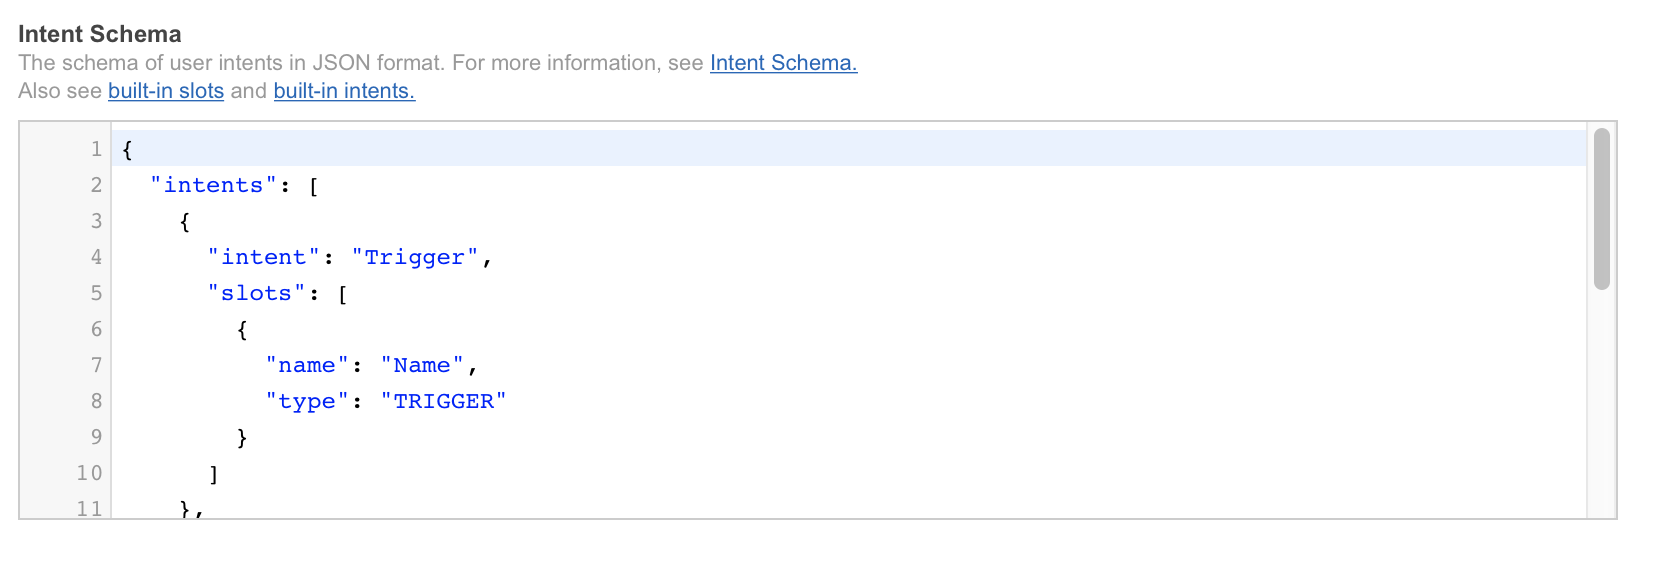
- The “Intent schema” is in JSON format and the content is pasted in from the guide I mentioned in the start of my own guide. Below is both a picture of the schema and the code I have used.
{
  "intents": [
    {
      "slots": [
        {
          "name": "Name",
          "type": "TRIGGER"
        }
      ],
      "intent": "Trigger"
    },
    {
      "intent": "ListTriggers"
    },
    {
      "intent": "AMAZON.HelpIntent"
    },
    {
      "intent": "AMAZON.StopIntent"
    },
    {
      "intent": "AMAZON.CancelIntent"
    }
  ]
}
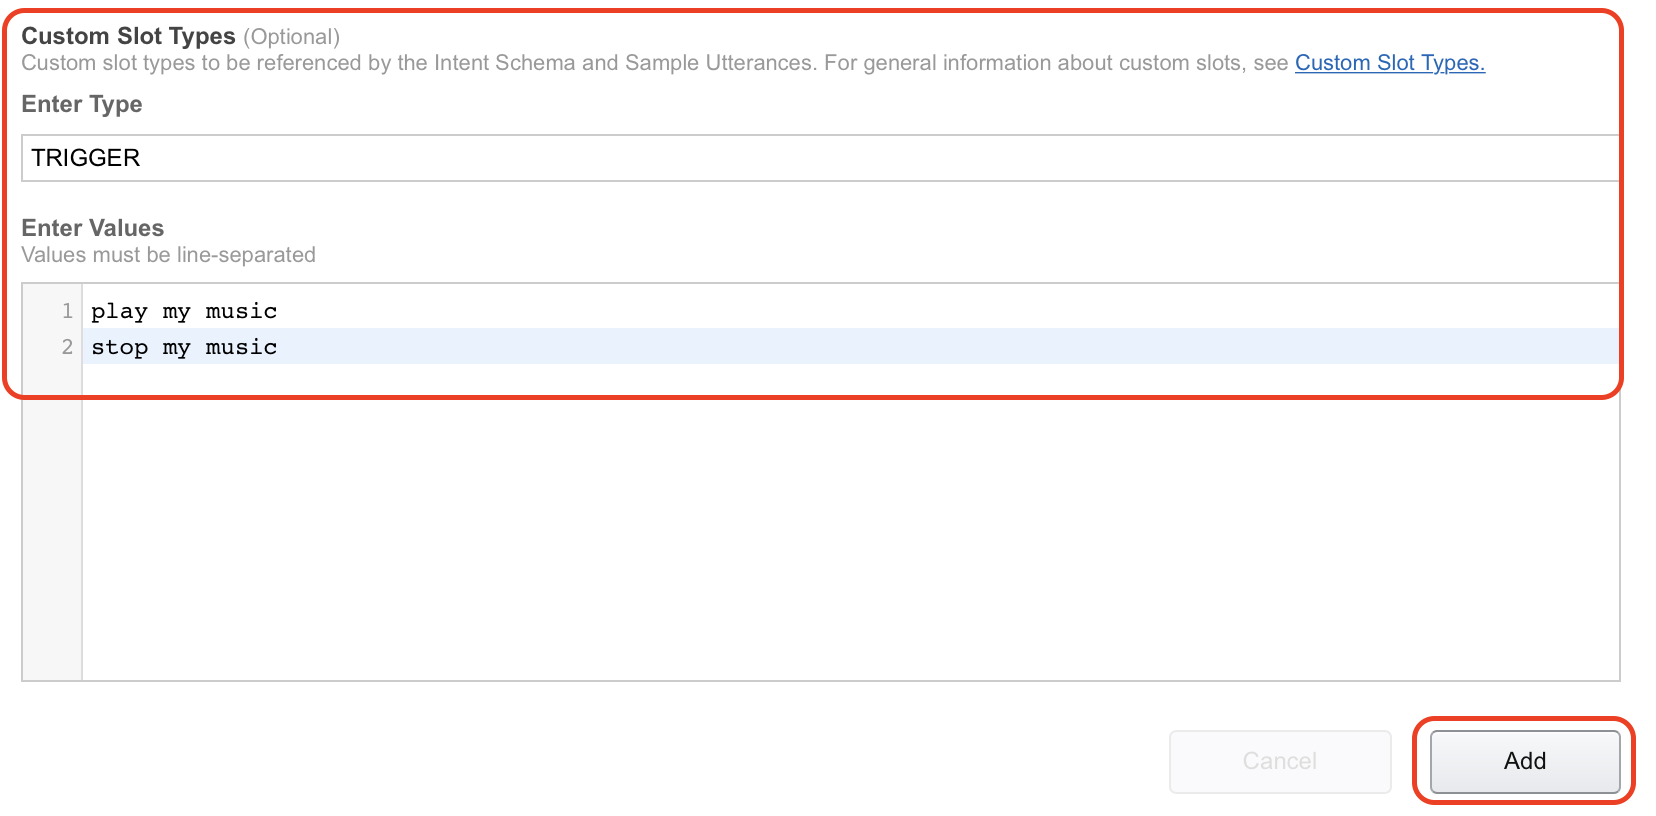
- In the “Custom slot types” type in “TRIGGER” under “Enter Type”. “Enter Values” will be the commands Alexa and Octoblu needs to handle, in my case “play my music” and “stop my music”. When used with Alexa this will translate into “Alexa ask octoblu play my music”.
- Under “Sample utterances” I have filled in the information from the guide as well. I have pasted both code and picture in below to illustrate.
Trigger give me the {Name}
Trigger give me {Name}
Trigger give me a {Name}
Trigger get me the {Name}
Trigger get me {Name}
Trigger get me a {Name}
Trigger could you set {Name}
Trigger could you please set {Name}
Trigger i need {Name}
Trigger i need {Name} please
Trigger tell me my {Name}
Trigger list {Name}
Trigger i want {Name}
Trigger create {Name}
Trigger create a {Name}
ListTriggers what my triggers are
ListTriggers give me a list of my triggers
ListTriggers get me a list of my triggers
ListTriggers a list of my triggers
ListTriggers my triggers
ListTriggers the triggers i have
ListTriggers what triggers do i have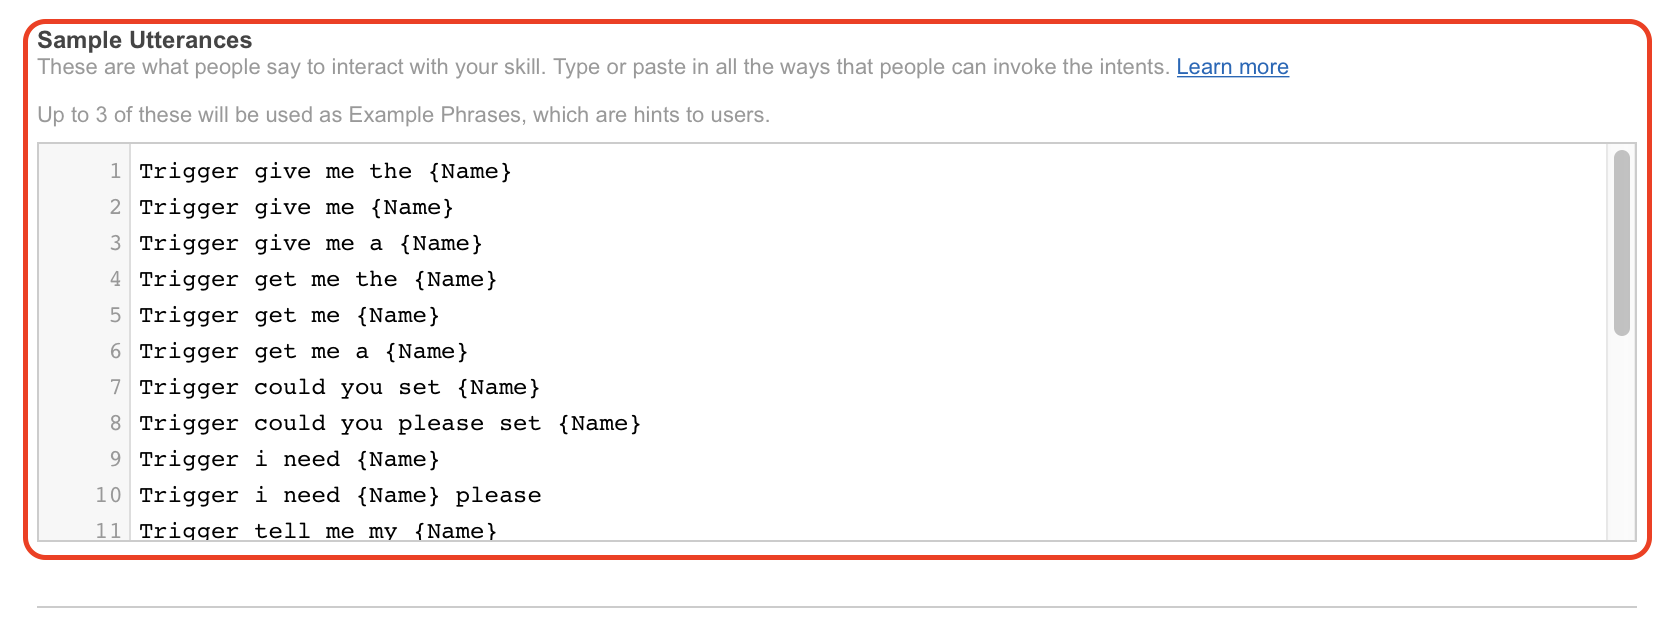
- Click on “Next” to continue with the setup.

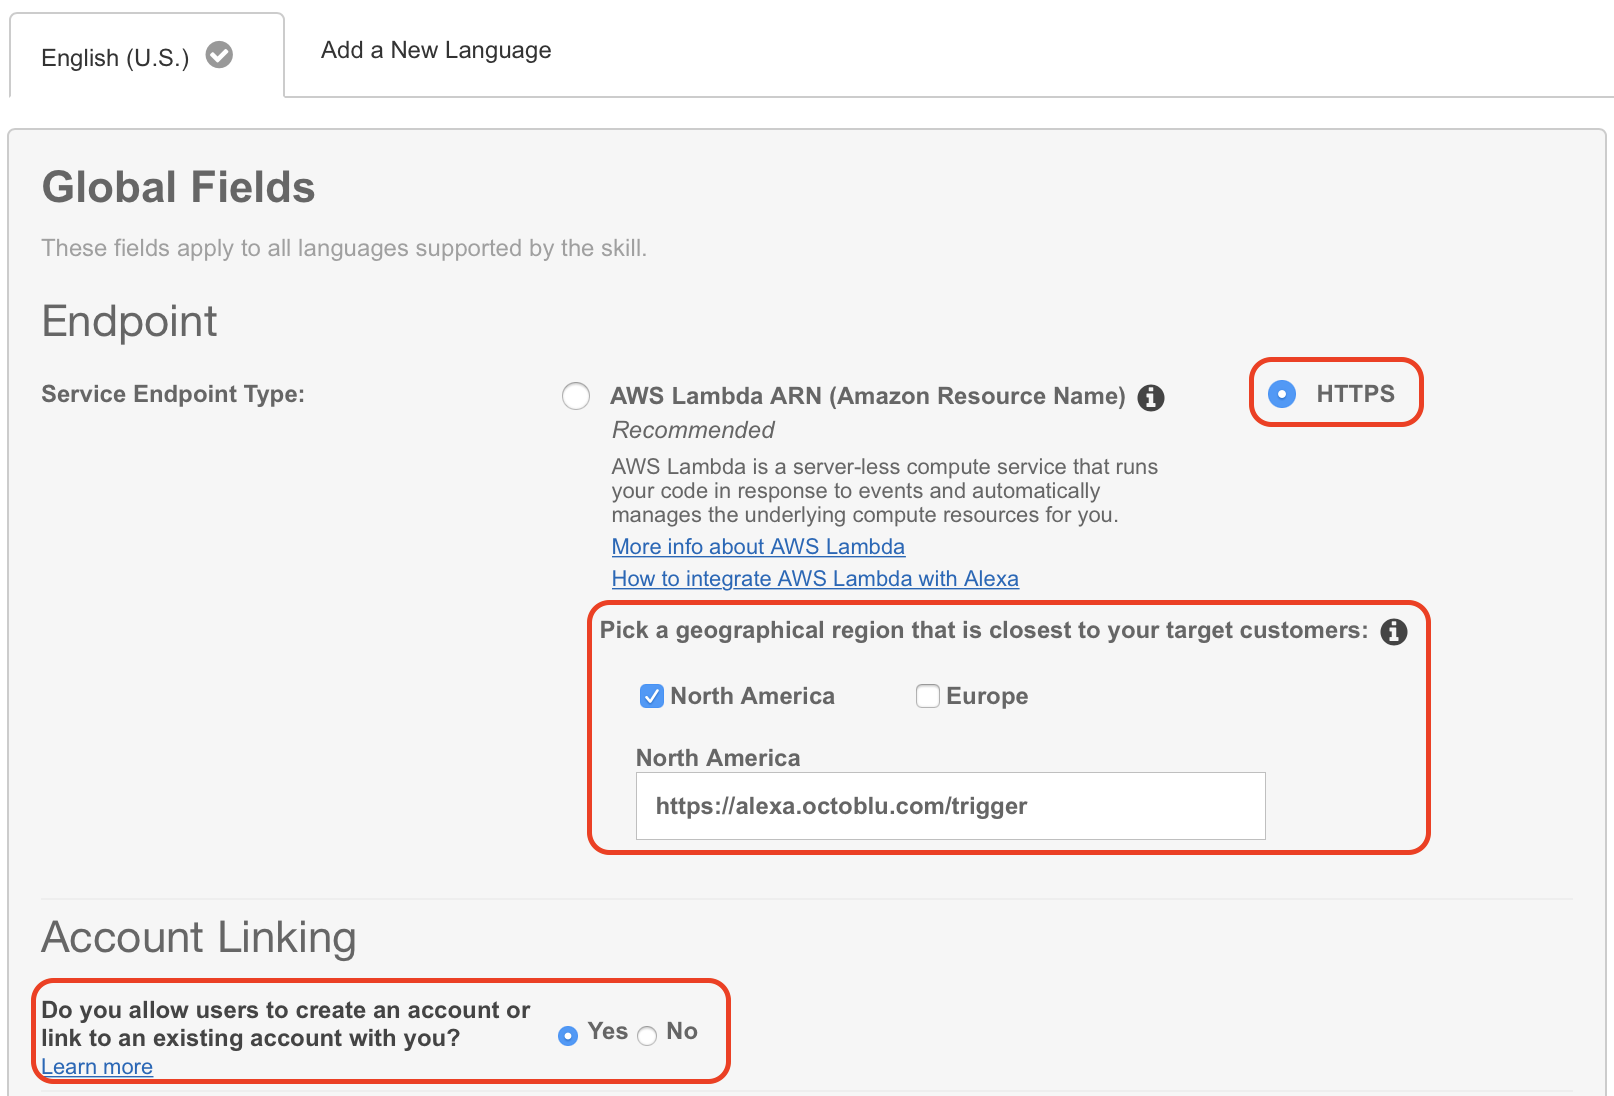
- Under “Global Fields” mark “HTTPS” as “Service Endpoint Type” and mark the geographical location near you. I have selected “North America” this time, but will try and change that since I am based in Denmark. Also make sure that you have “Account linking” enabled by marking “Yes” in that section.
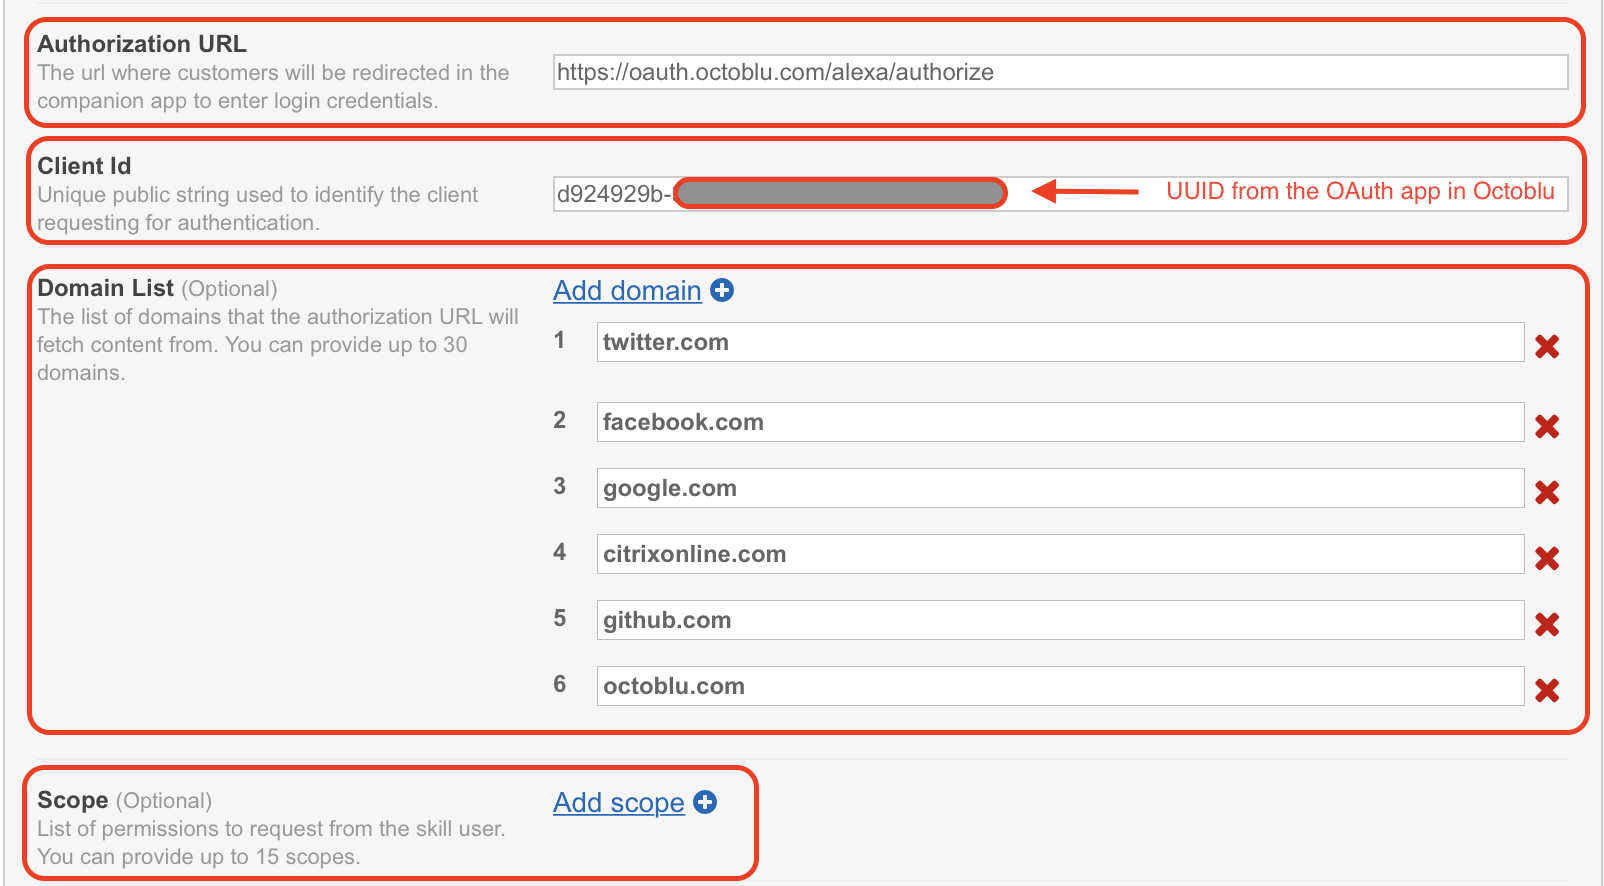
- You will need to fill in some fields on this next screen. “Authorization URL” is “https://oauth.octoblu.com/alexa/authorize”. The client ID is the UUID from the app that we created in the Octoblu part of this guide. The domain list is a list of domains where you can fetch information from. I have used the list from the guide I found on GitHub. There is no need to set a scope for this setup.
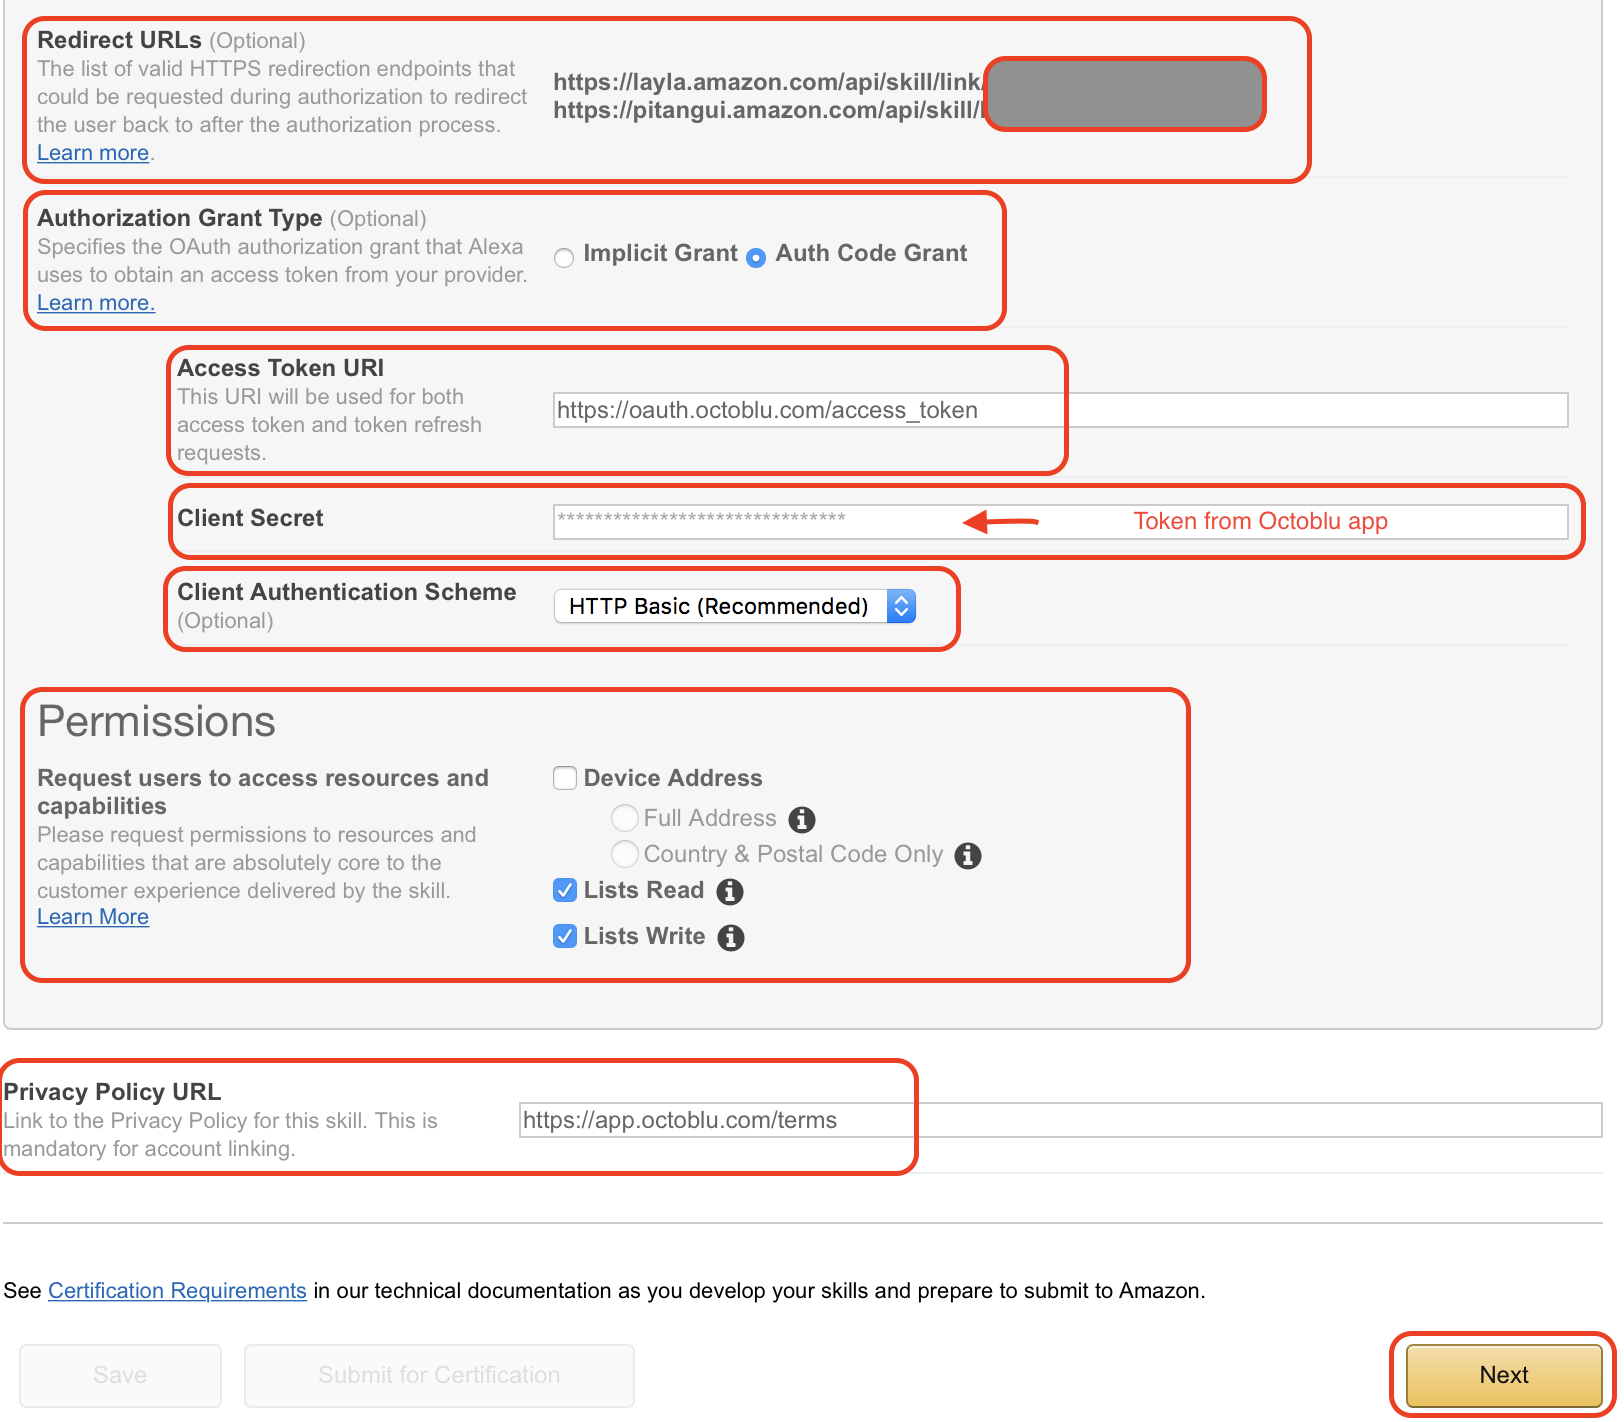
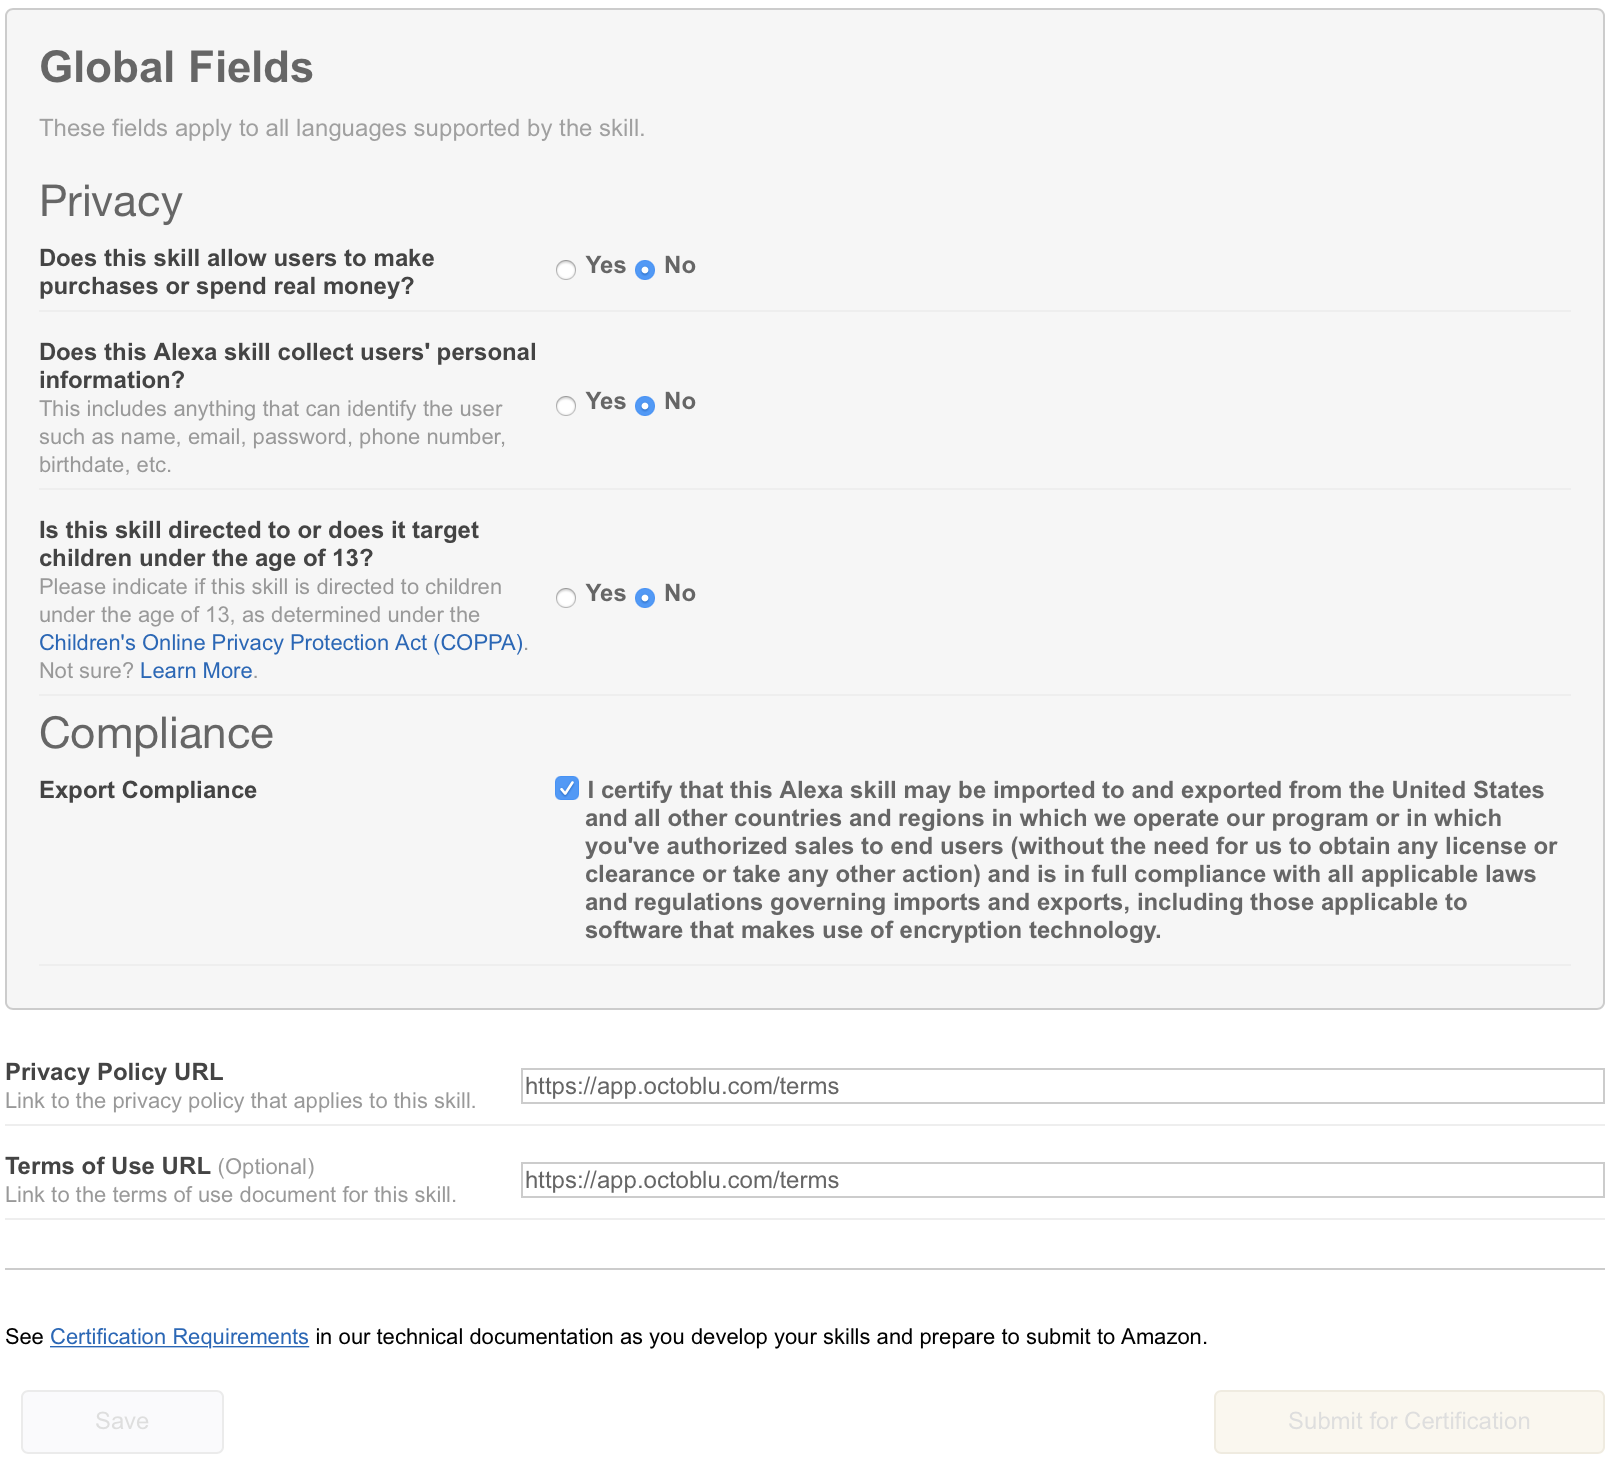
- The redirect URLs are the ones you need to put back into the Octoblu app, so note them down. Set “Authorization grant type” to “Auth Code Grant”, set “Access Token URI” to “https://oauth.octoblu.com/access_token” and the “Client Secret” is the token that we generated in the Octoblu app. Set the “Client Authentication Scheme” to “HTTP Basic (Recommended)” and under permission I have put in “List Read” and “List Write” I don’t think they are needed, but this is how my working setup is created. The “Privacy Policy URL” I have set to “https://app.octoblu.com/terms”. Click on “Next” when ready.
- For the SSL certificate setup mark the “My development endpoint has a certificate from a trusted certificate authority” and click “Next”
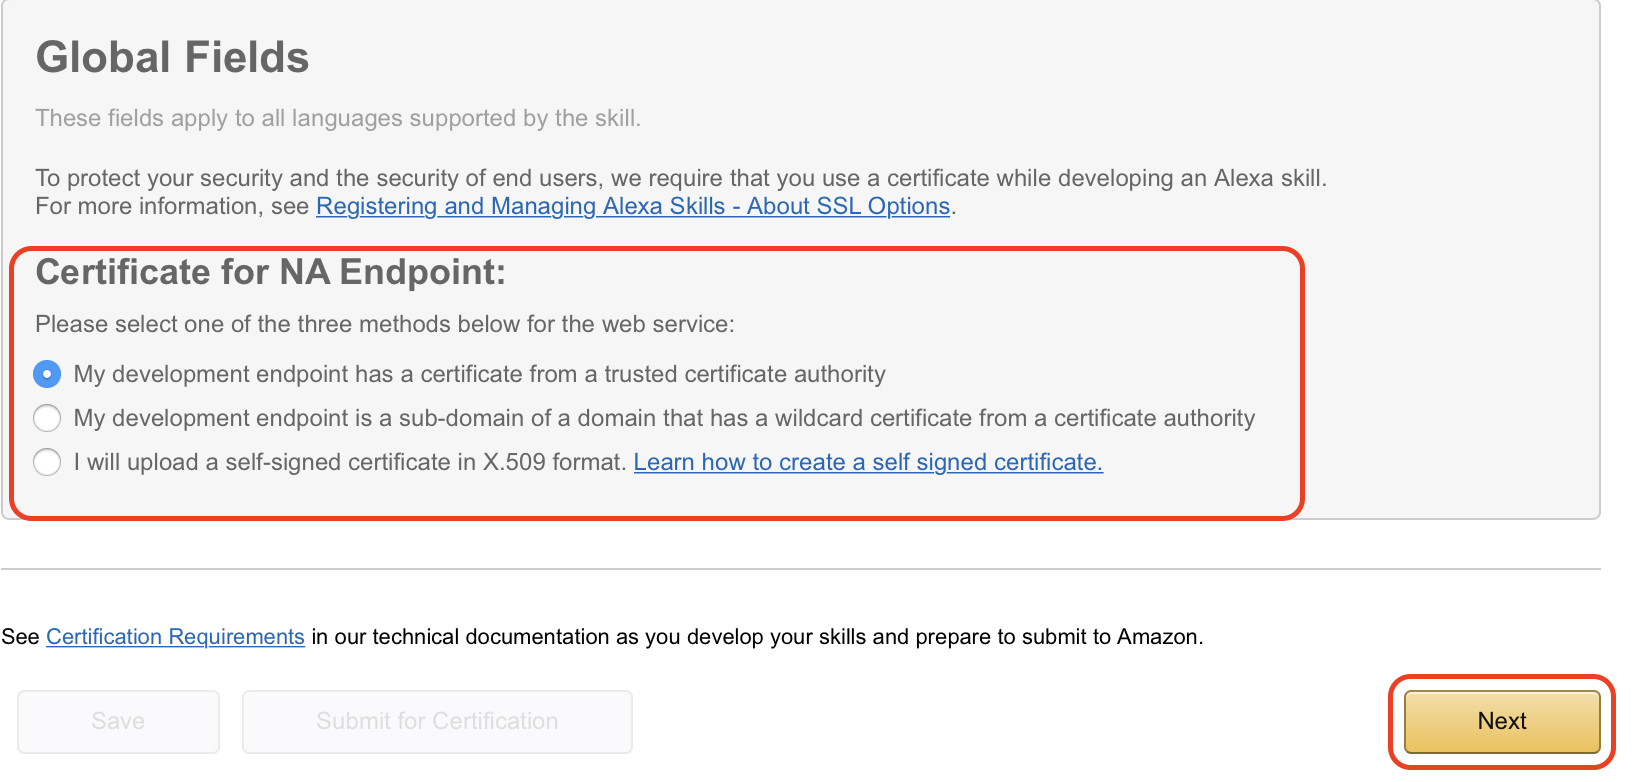
- The next page isn’t used in my case, but just so you can follow along this is what it looks like. Click on “Next” to continue.
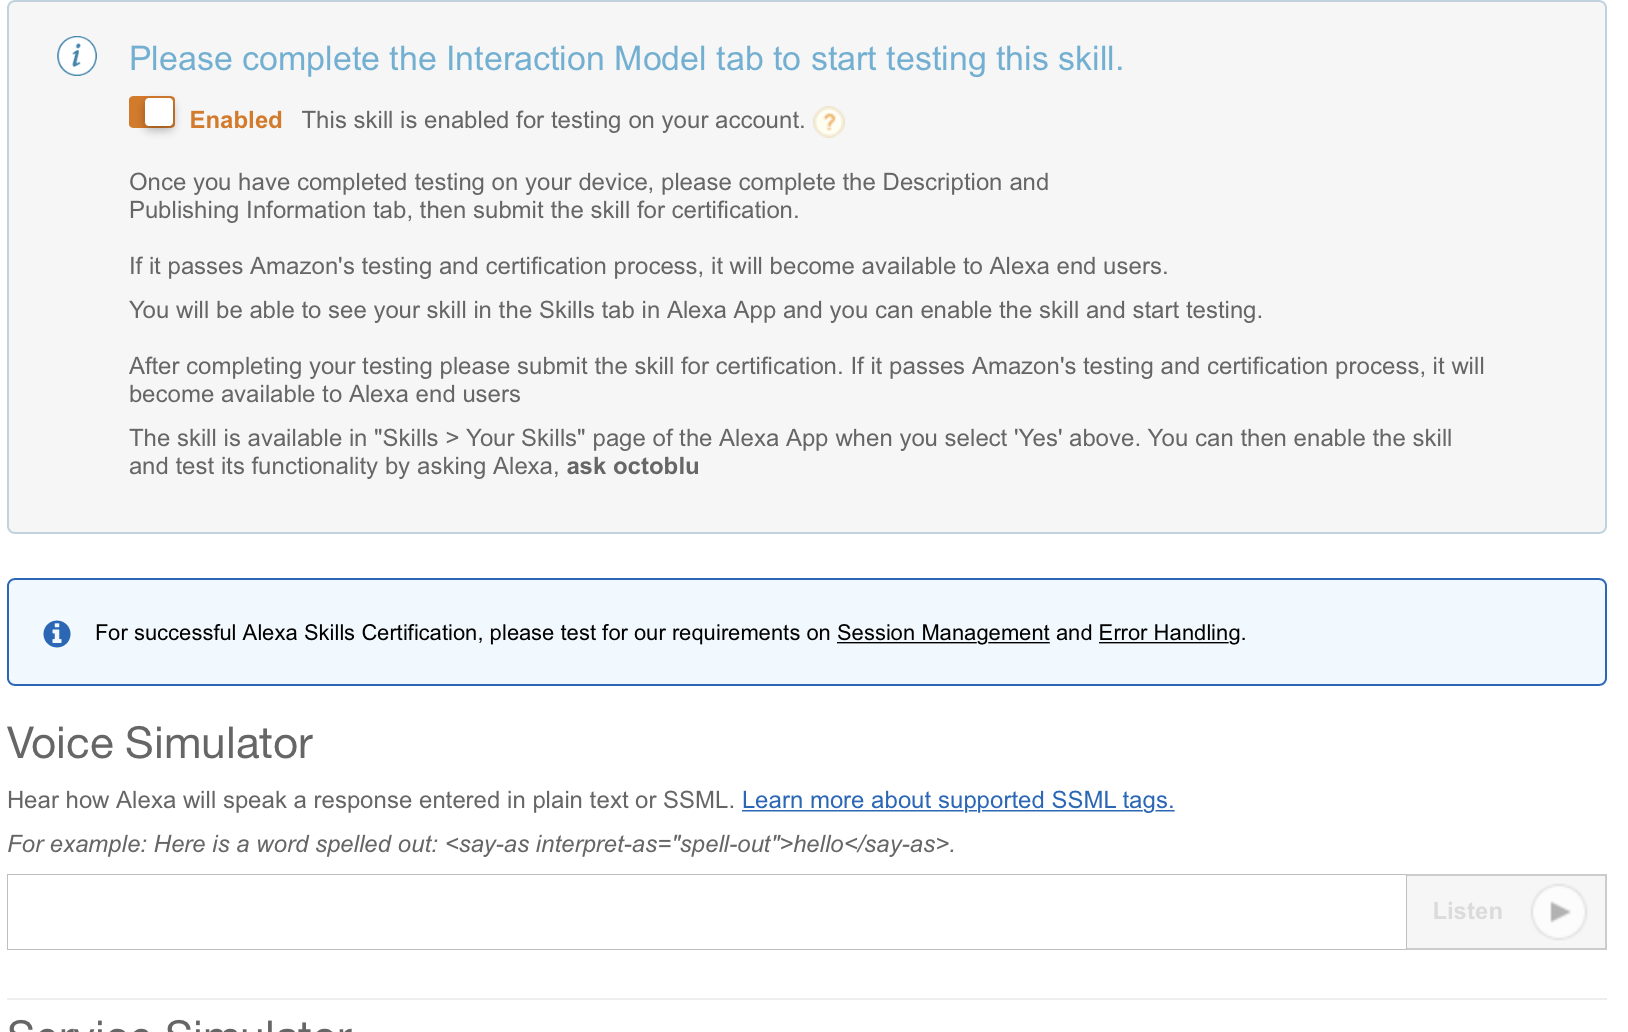
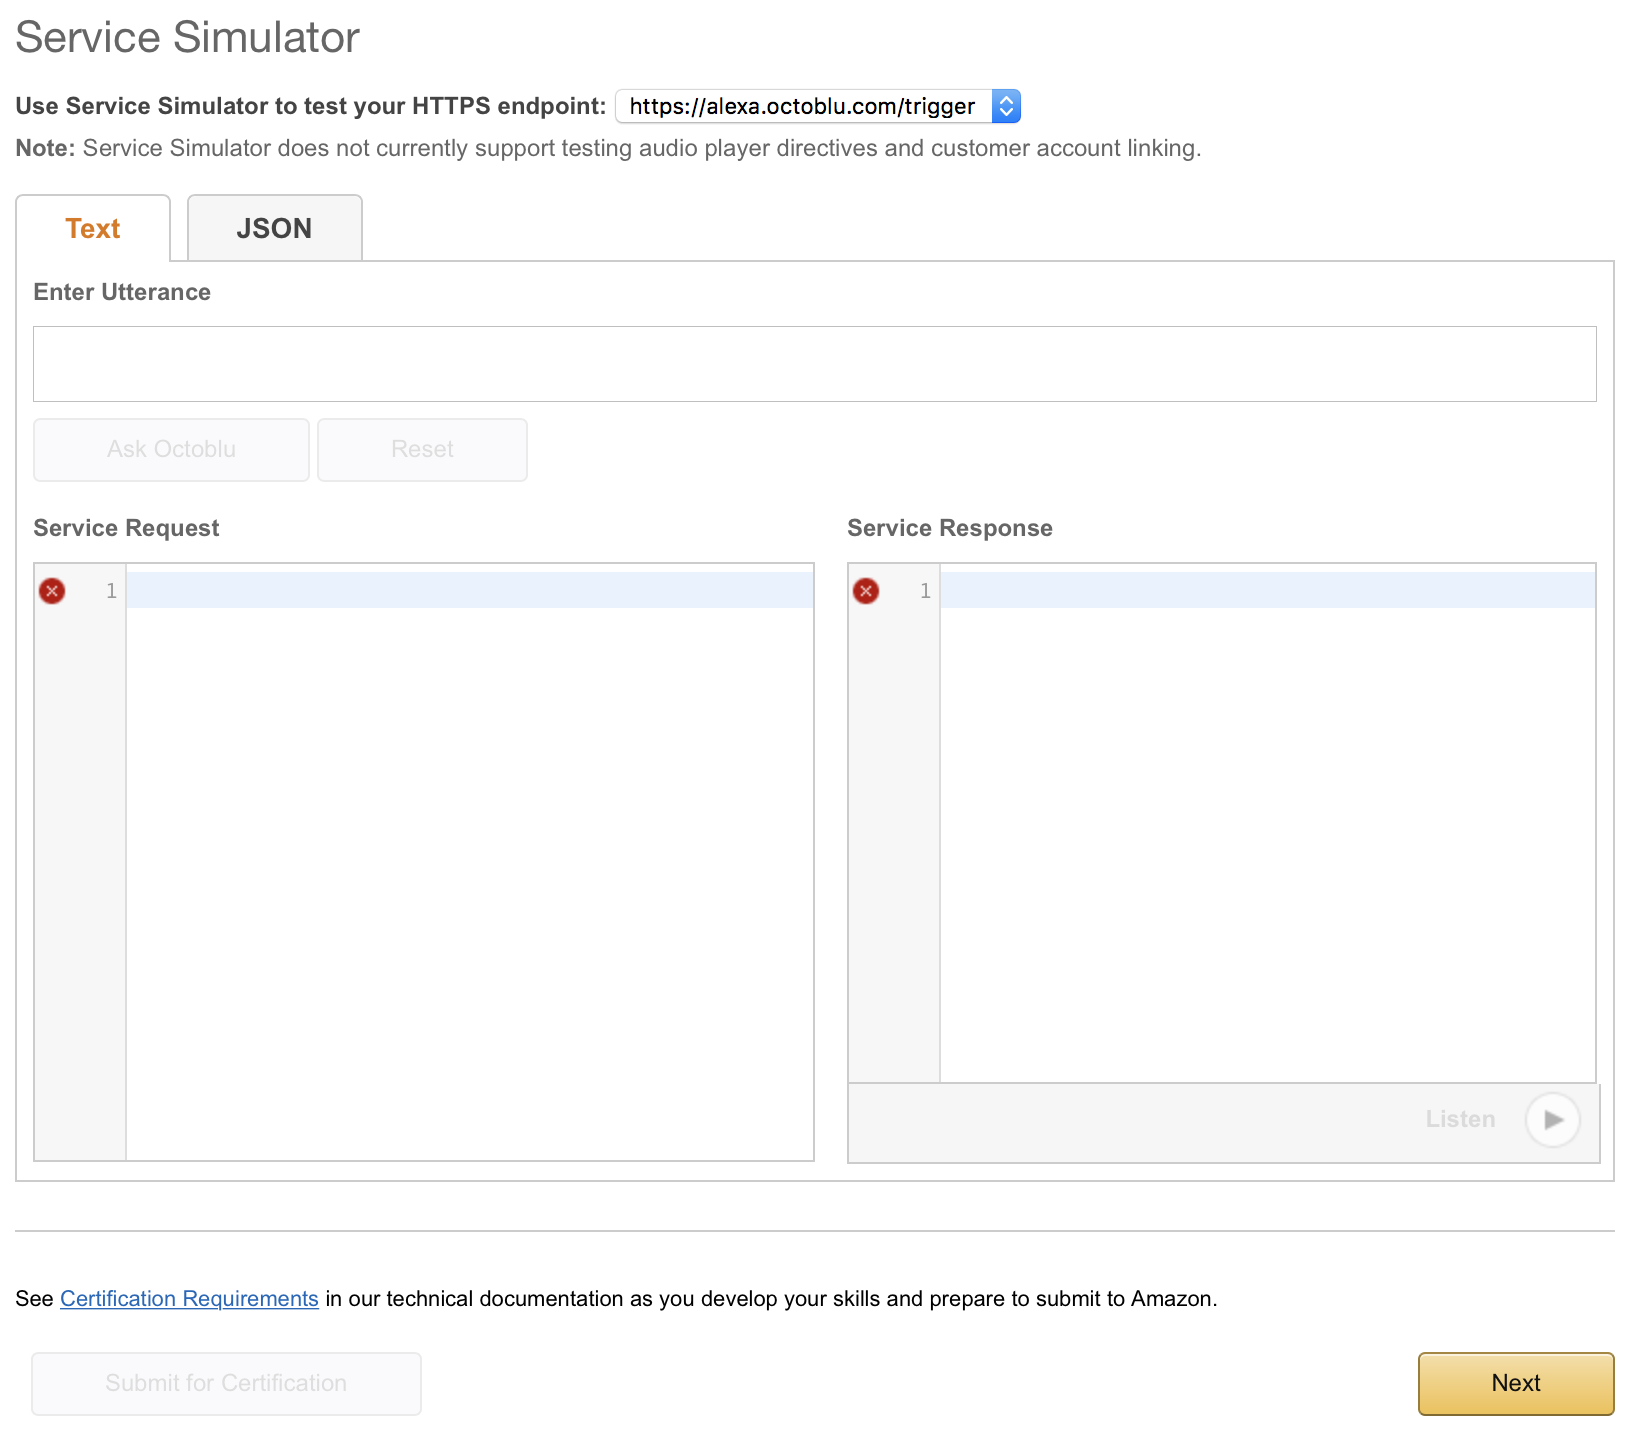
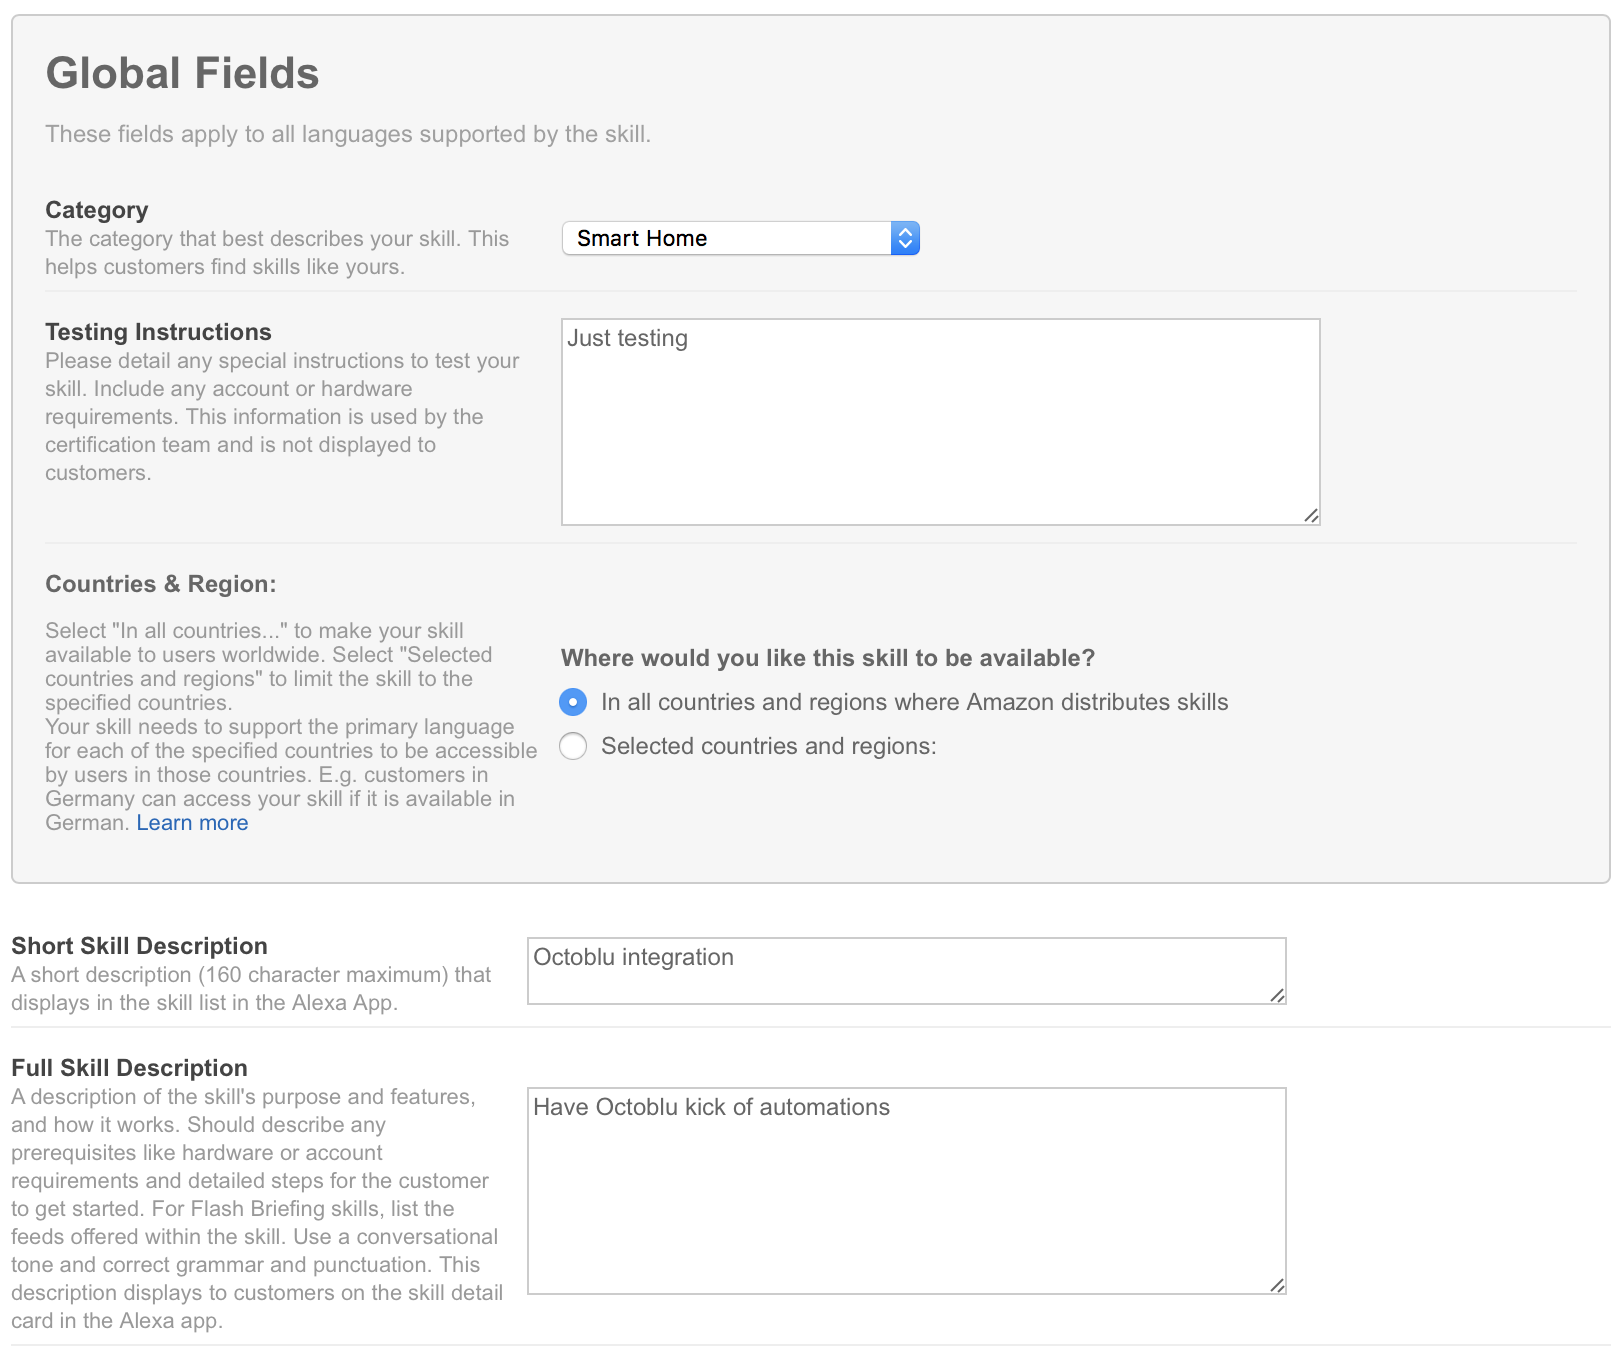
- The publishing section isn’t used in my case either. I did put a bit of information in there and I have posted screenshots below so you can follow along. Click on “Next” to continue.
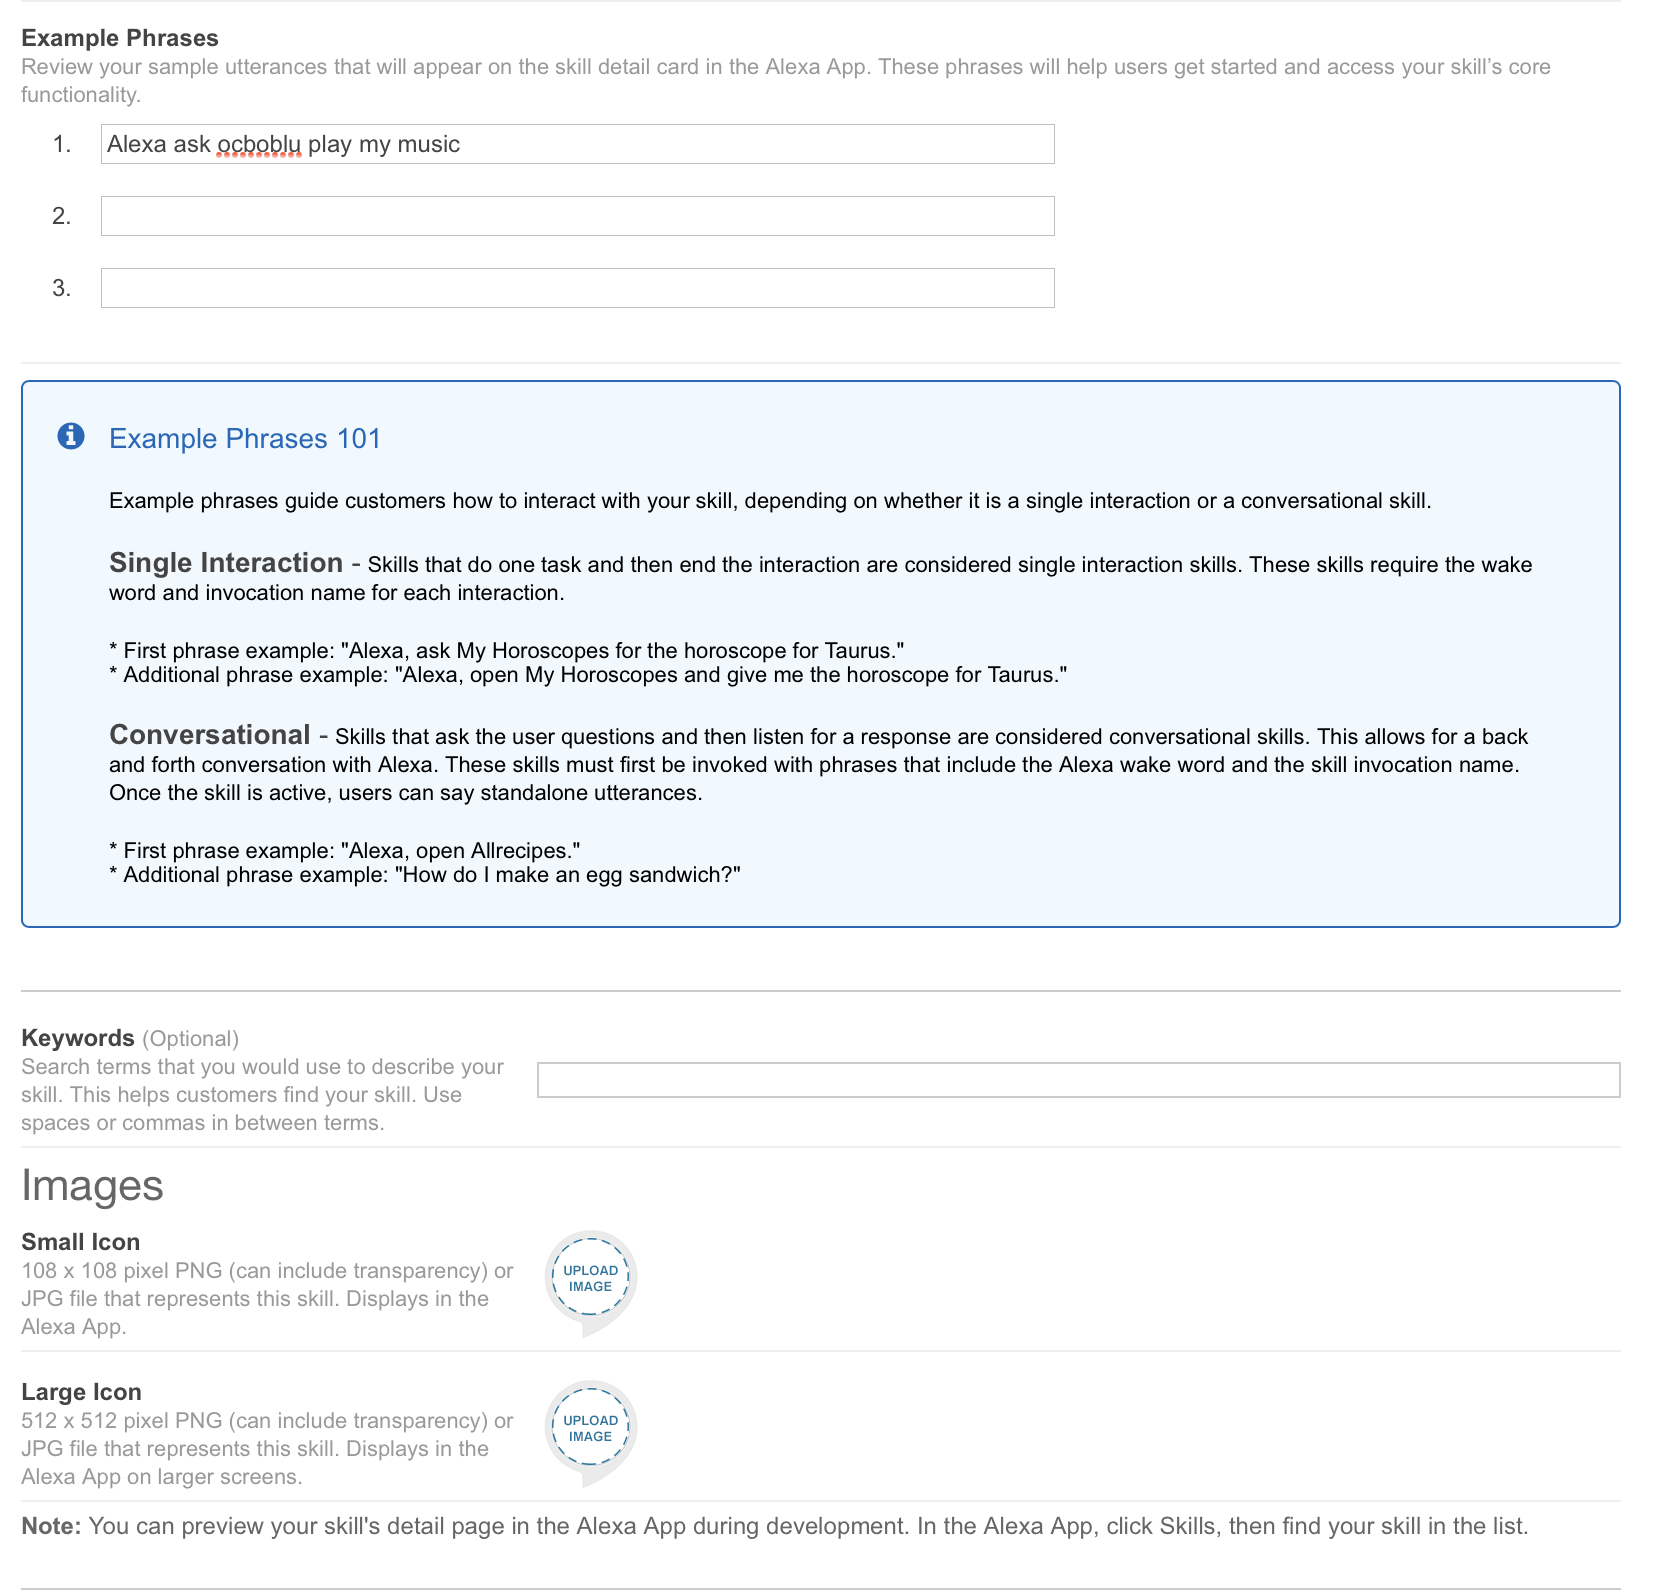

- On the last tab, we have privacy settings. I have filled them out, but since I am not publishing this skill it really isn’t needed. Click on “Save” to complete the setup.
Going back to Octoblu to fill in the missing part from the setup.
We had one thing we needed from the Alexa setup over in the Oauth application in Octoblu, so let’s get those information in.
- Go to https://app.octoblu.com/ and sign up for an account if you don’t have one already
- Click on “Things”

- Scroll down to you find your Oauth application and click on it.

- Fill in the “Callback URL” and click on “Save”. The callback url is the “Redirect URLs” from the Alexa configuration.

The last configuration part – Linking Alexa and Octoblu accounts.
The last part we need to do before we can start using Alexa to kick off Octoblu flows is to link the two configurations together. This is done in the Alexa configuration as shown below.
- Go to http://alexa.amazon.com/
- Click on “Skills” in the left side of the screen and when that is loaded click on “Your Skills” in the top right of the screen.
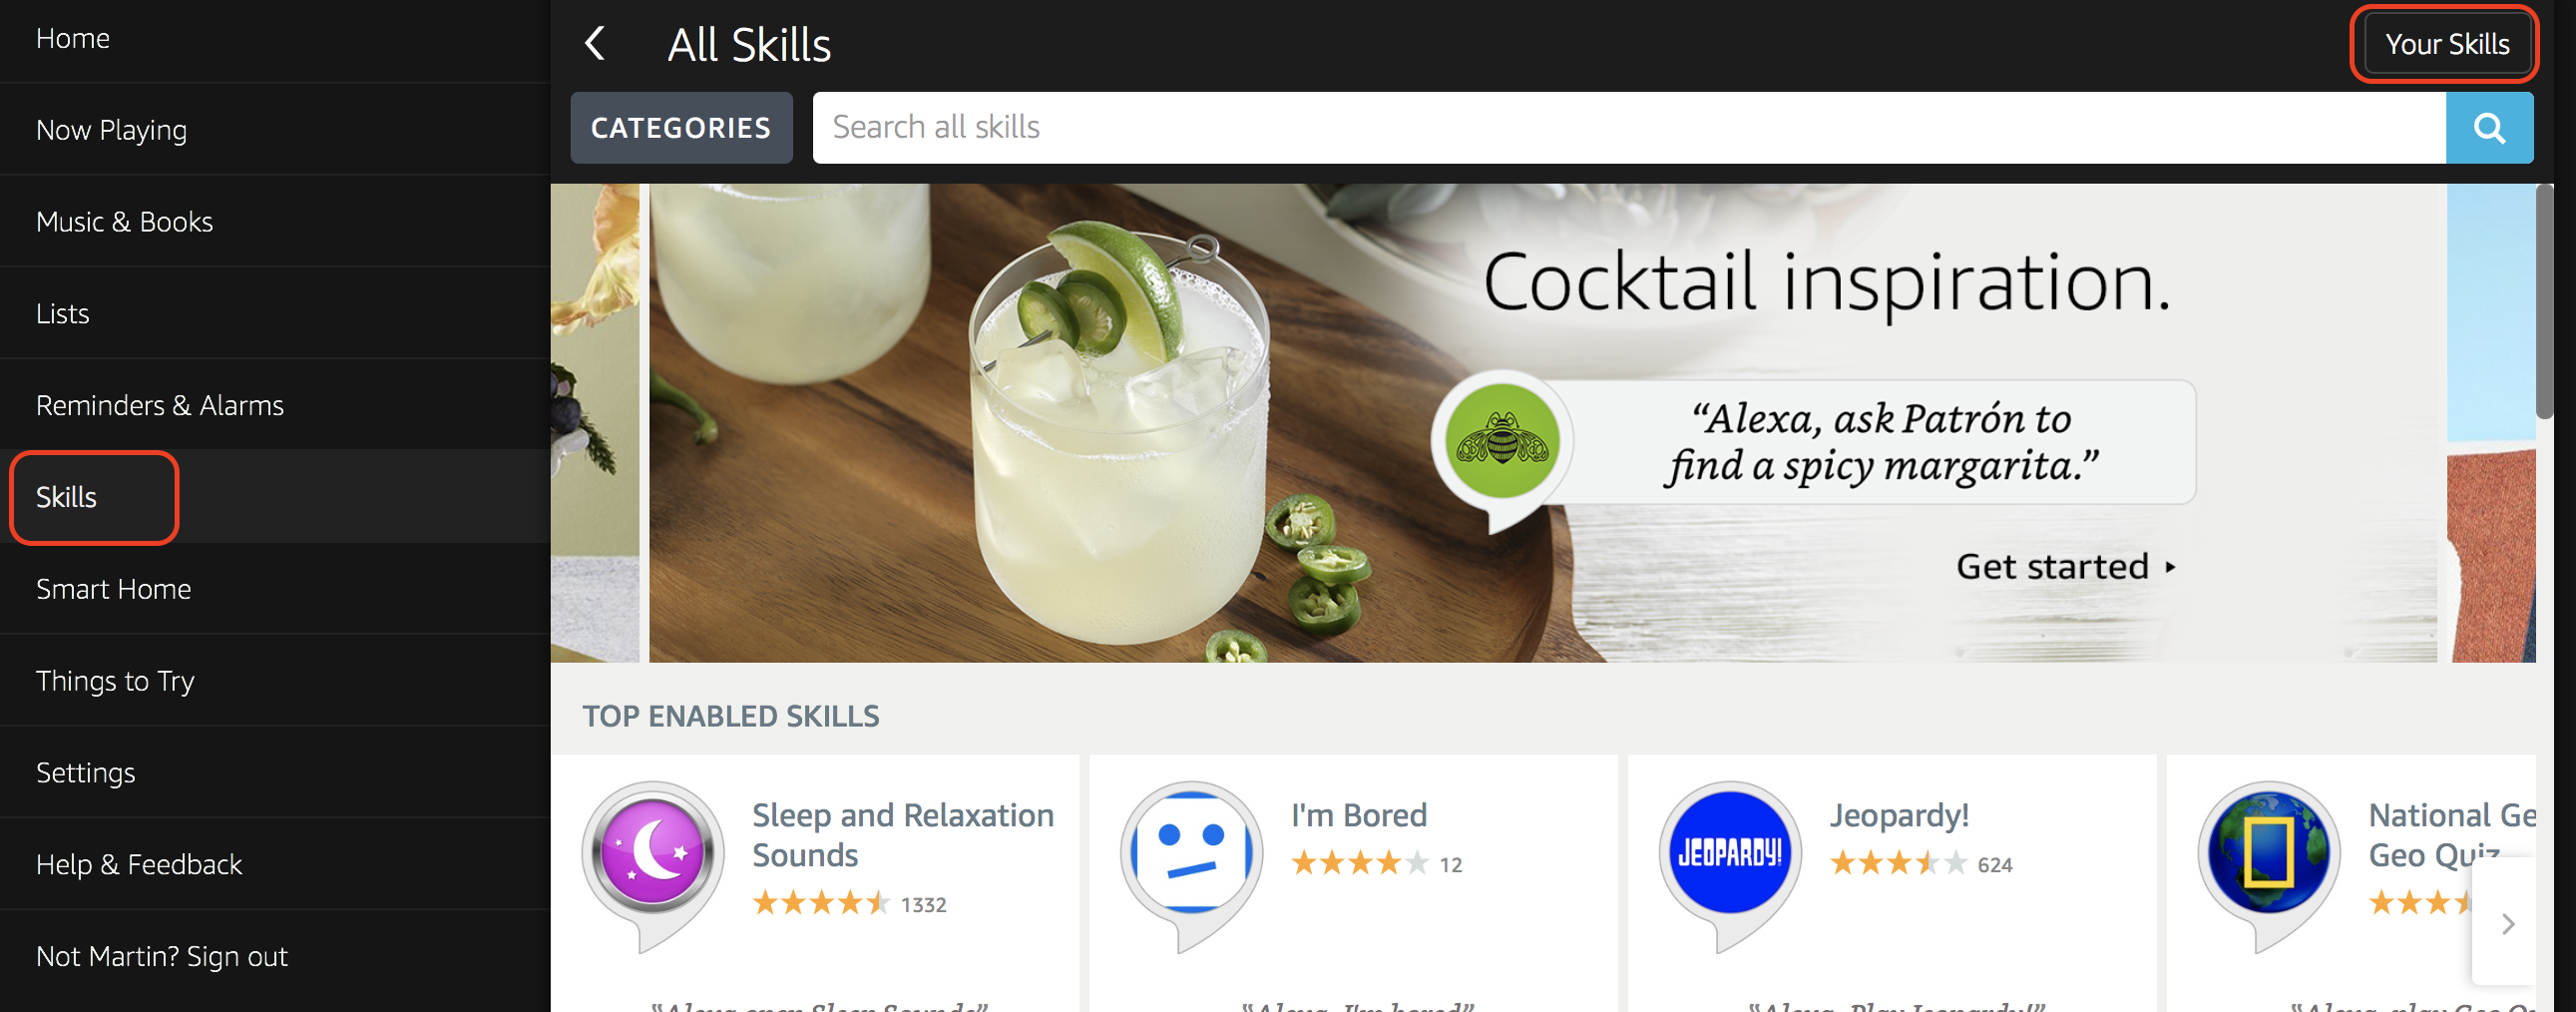
- Find your Octoblu skill in the list, yours should say “Account linking required”

- Click on “Link Account”.

- This will redirect you to the Octoblu site where you click on “Authorize”. I forgot to take that last screenshot, but hope you can manage without it.
An Octoblu example
To show just a simple example on how to use the setup in Octoblu look at the screenshot below. I have four “Echo in” controls that each links to an action on my Sonos speaker. 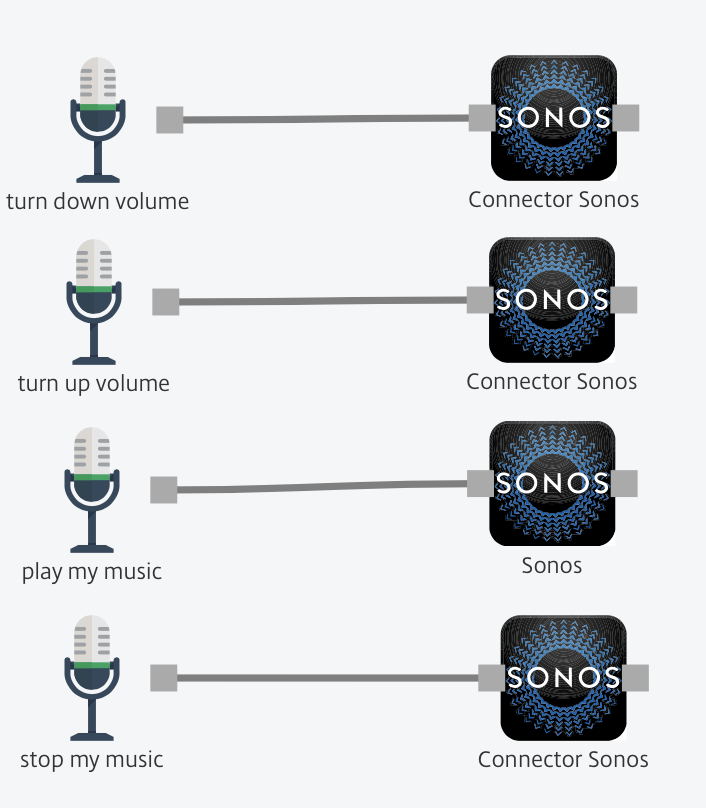
Hope this guide can help you get started with using Alexa and Citrix Octoblu to do some amazing workflows for both work and home automation.
