In part one I showed you how to login to Citrix Cloud, download the Citrix Cloud Connector and install it onto a machine running in Microsoft Azure. This part made it possible to continue on with the implementation of Citrix Cloud and Microsoft Azure.
In part 2 I am going to show you how to install the Citrix Virtual Delivery Agent on a virtual machine hosted in Azure. I will show you which type of machine I am running on and how you can set this up yourself.
Citrix Virtual Delivery Agents (VDA’s)
Now that we have the cloud connector installed, we can move on to installing the VDA on our target device.
First, we need to log into our Azure portal and from there connect to our virtual machine. So, let’s start with that.
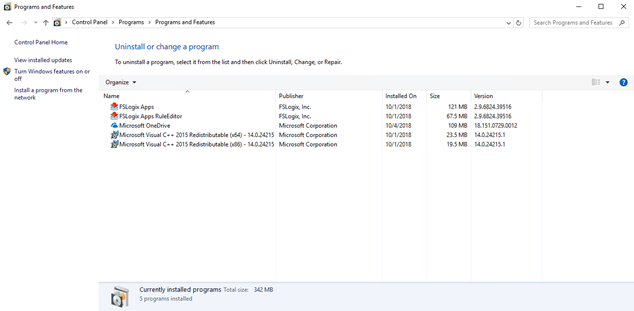
To install the VDA software start with doing an RDP connection to the virtual machine. Below you can see the software I have installed beforehand, but none of these are necessary, it is just software I like to have installed on the VDA.
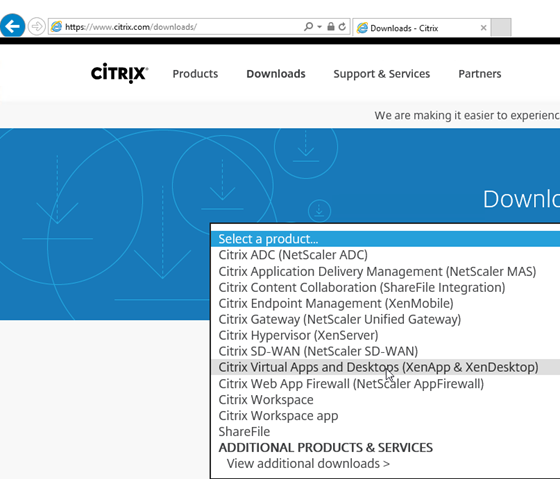
To obtain the VDA software you need to go to the Citrix download site (www.citrix.com/download) and then under “Select a product” you select “Citrix Virtual Apps and Desktops (XenApp & XenDesktop”.
You will need to sign in with your MyCitrix account, and you can use the same as you use on Citrix Cloud. 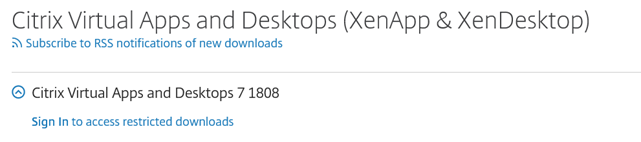

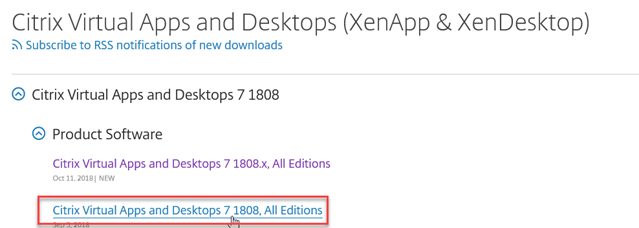
Select “Product Software” and then “Citrix Virtual Apps and Desktops 7 1808, All Editions”
Scroll down and find the VDA that suits your needs. I am installing the VDA on a Windows Server OS so I need the “Server OS Virtual Delivery Agent”. If you are installing on Windows 10 OS you will need the desktop version of the VDA.
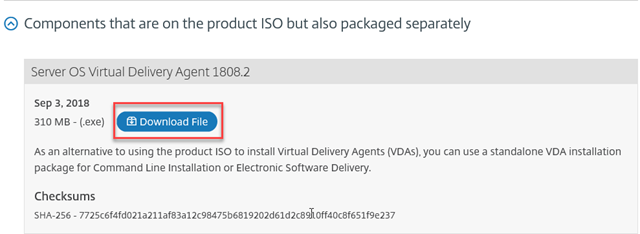
Accept the download agreement
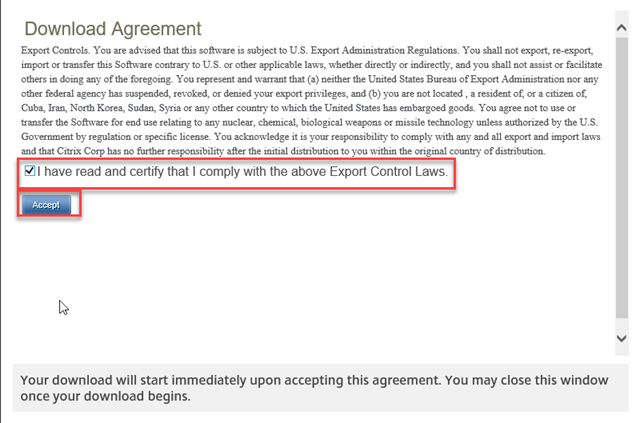
Save the file

When the file is downloaded right click it and select “Properties”
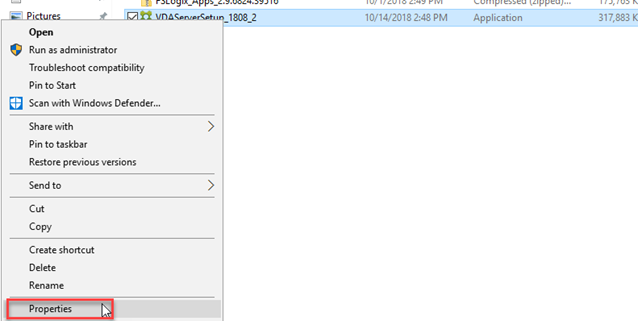
Check the “Unblock” tick box and hit “OK”

Right click the file again and select “Run as Administrator”
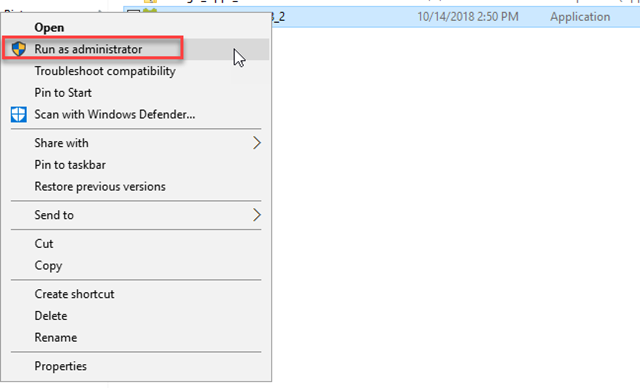
Accept the UAC warning
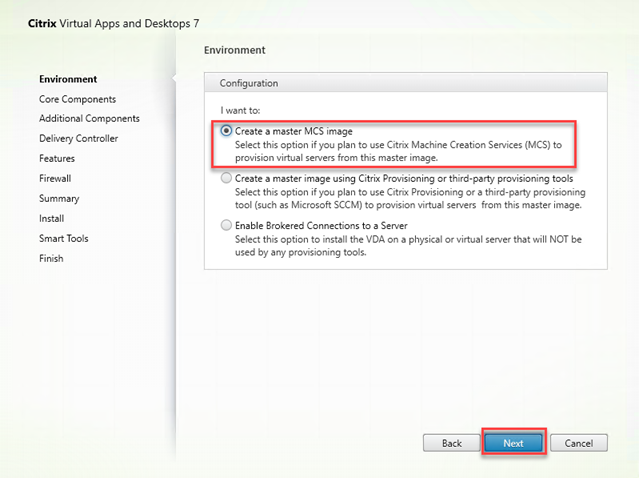
Setup will now load

When the guide starts select “Create a master MCS image”
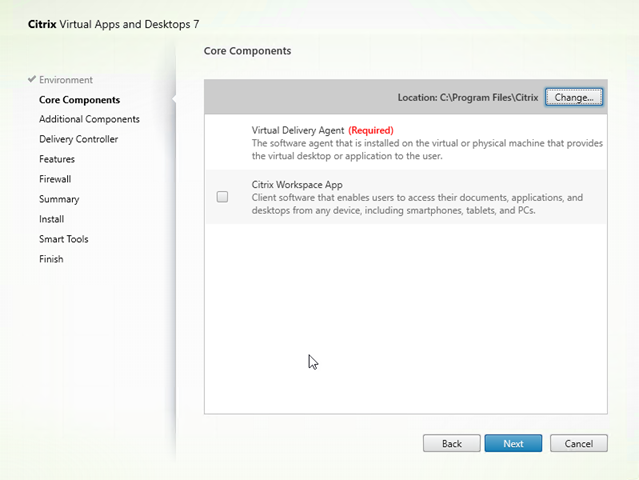
 If you want to have the “Citrix Workspace App” installed you can put a check mark in that, I choose not to install it.
If you want additional components installed you can mark them on the screen, I have select just a few of them that suits my needs. 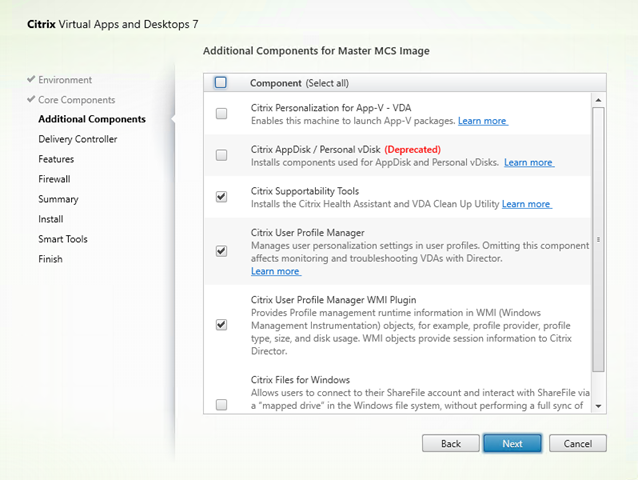
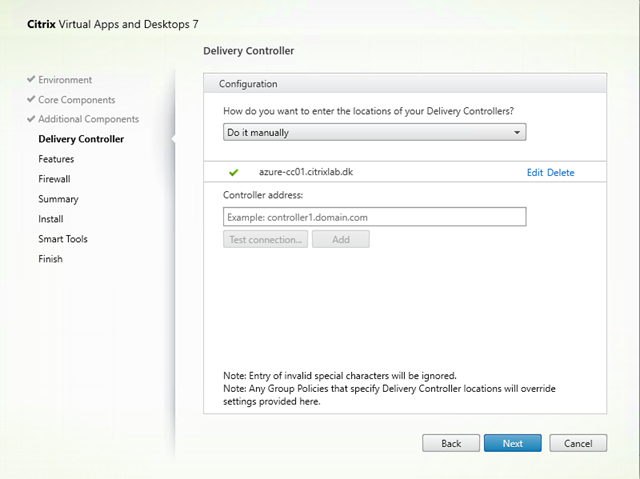
Type on the name of your Citrix Cloud Connector as the “Delivery Controller” and remember to test the connection. You should see the green check mark next to the name of the Citrix Cloud Connector when successful.
On the features page, I choose to install all the features if there are some you don’t want to use you can skip them. The MCS IO is a new feature selection in version 1808, this was installed by default in previous versions. 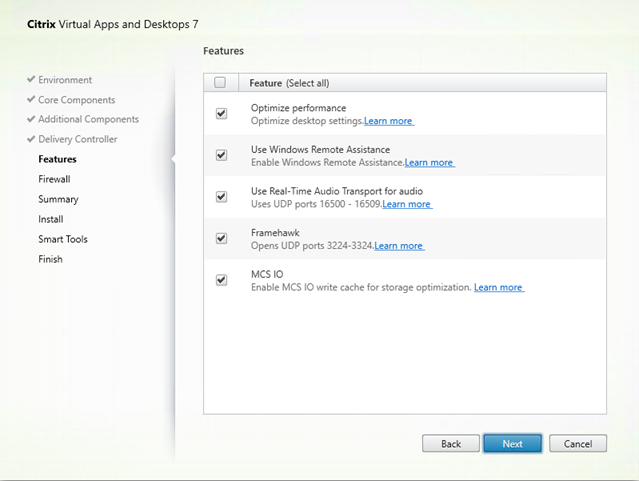
I choose to let the installer configure my firewall.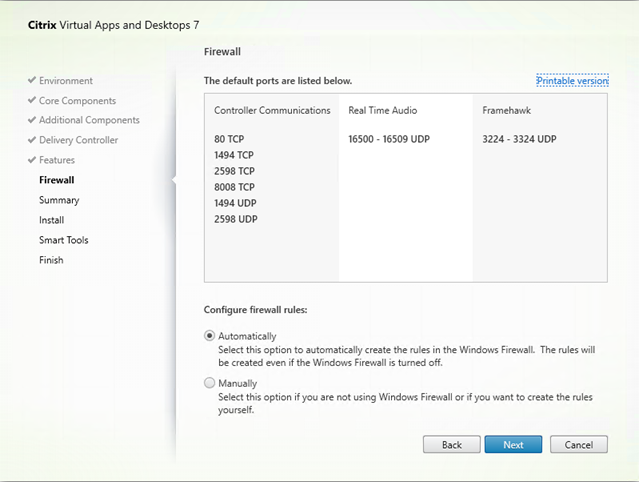
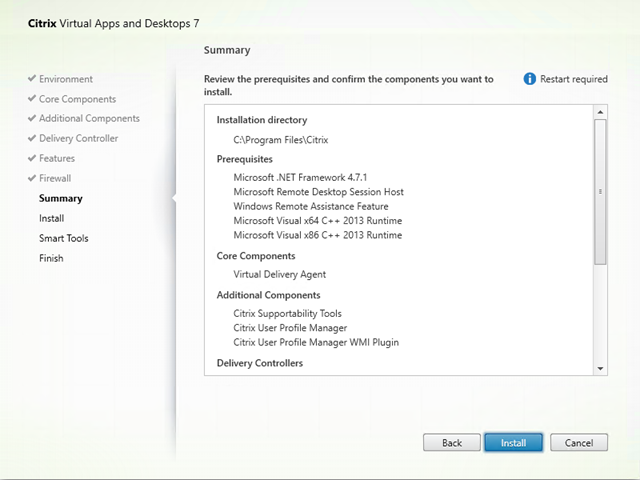
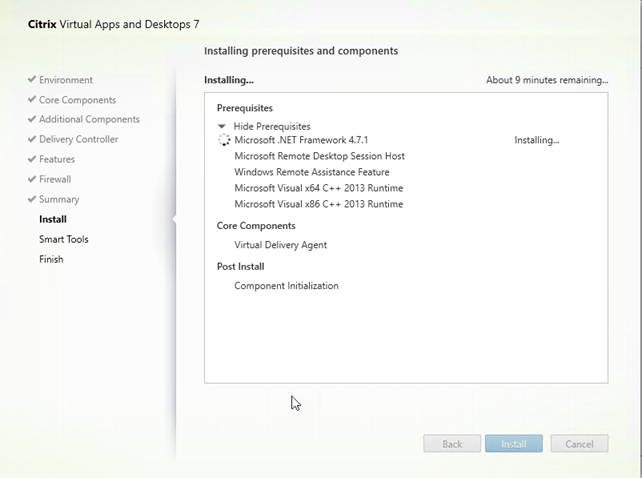
You can read through the summery and hit install.
VDA is now installing and depending on the OS you might need to reboot a few times and do a login with the same user account to ensure the VDA is installed.
Summary
Now we have the Citrix VDA installed on our target machine in Microsoft Azure and it is ready to be made into the master image for Citrix workers running in Microsoft Azure. The master image can be used to install Microsoft updates, application updates, and new applications. Normally my recommendation is to start from scratch every time you want to make changes to your image and do this with an automation tool like Microsoft Deployment Toolkit. This is not in scope for this blog series, but I thought it was important to note here anyway.
In part 3 I will be showing you how to create the Citrix Machine Services catalog so that we can create multiple Citrix workers based on the same master image. As always please provide any feedback you might have, you can comment here or reach out to me on twitter @mracket