Solution end-goal
In this blog series, I want to guide you through the process of using Citrix Cloud, Citrix Machine Creation Services and Microsoft Azure. The end goal is to have a Citrix solution running entirely in the cloud. I will show you every little setting and configuration needed to get it running, but I am not going to show you how to optimize and customize the user experience in this series.
Part 1
In part one, I am going to show you how to log into Citrix Cloud, download the cloud connector and installing it on a virtual machine in Azure. There are a lot of screenshots in this blog series, so I am keeping each part on one subject, so the guide won’t be a mile long to read at once.
Prerequisites
To be able to follow this guide you need to have a few things in place before getting started. First, you will need to sign up to Citrix Cloud Virtual Apps and Desktops, this can be buying the product or as a trial. Then you will need to have two virtual machines in Azure, one will be used for the Citrix Cloud Connector and the other will be used for the image we want to use with Citrix Machine Creation Services (MCS). In the image below, you can see the two machines I have. Azure-CC01 is the Cloud Connector and the Azure-MCS-IMG is my image for MCS. 
Setting up Citrix Cloud Connectors
When you have set up a trial or purchased Citrix Cloud, the first thing you want to do is to install the Citrix Cloud Connector on the resource location. The resource location is this guide will be Microsoft Azure, but to put it simply, it will be the “datacenter” where you will host your Citrix Virtual Delivery Agents (VDA) so any cloud or on-prem data center will do.
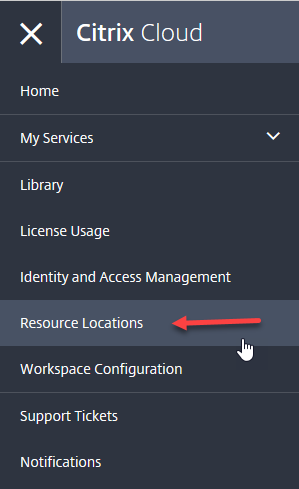
To install the Citrix Cloud Connector, click on the top left “hamburger” menu
Then select “Resource locations”
The first time you open this page you will have a default resource location, and you can use that if you want to. I have created a secondary resource location called “MTH – Citrixlab.dk”. To create a new Citrix Cloud Connector, click on the + sign above “Cloud Connectors”.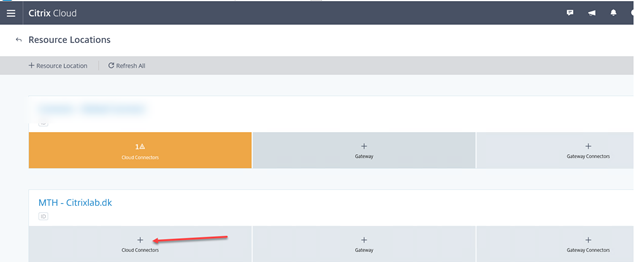
This will show the screen below. If you are running this on your PC you can download the agent and upload it to the machine you want to use as a Cloud Connector, or you can browse to the Citrix Cloud homepage from that machine directly and hit download from there. 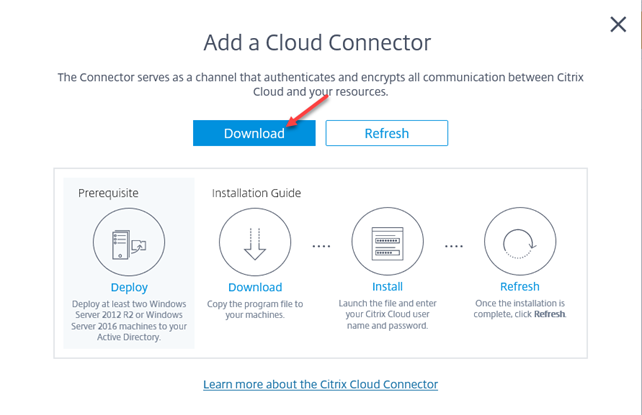
It is important to download the Cloud Connector and not hit run when asked, this is important because the Cloud Connector needs to run with administrative privileges.
When downloaded browse to the location you saved the file to. Right-click the file and choose properties and then tick the box
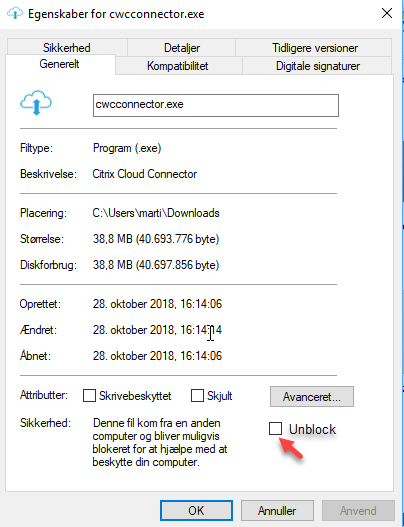
Now right click the file again and hit “Run as administrator”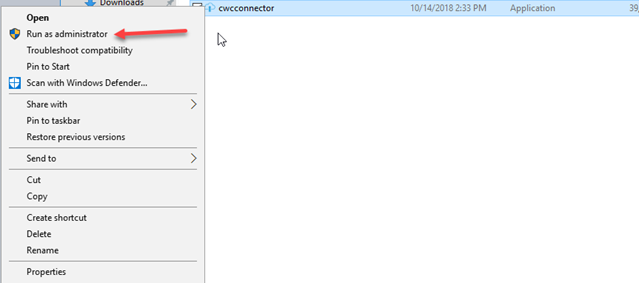
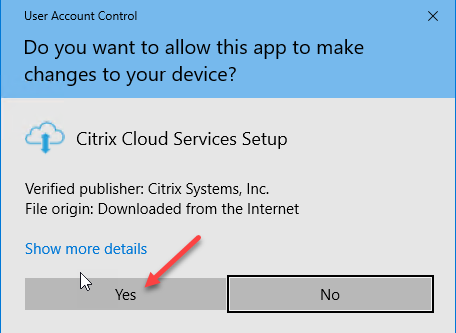
Click “Yes” to accept
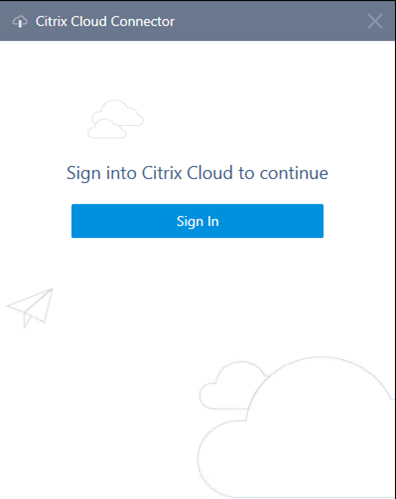
Click “Sign In” to sign in to your Citrix Cloud account.
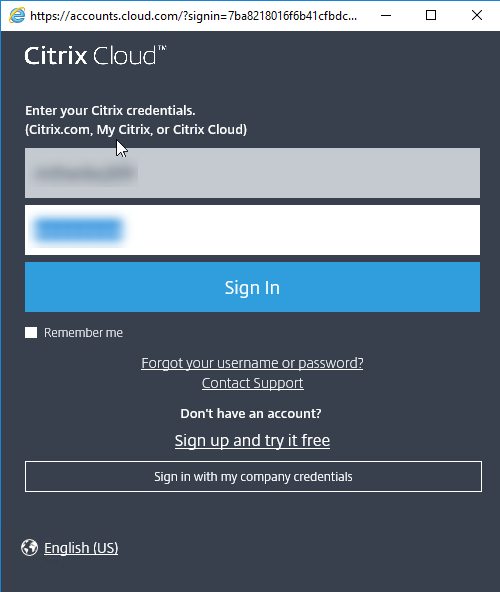
Fill in your username and password for Citrix Cloud.
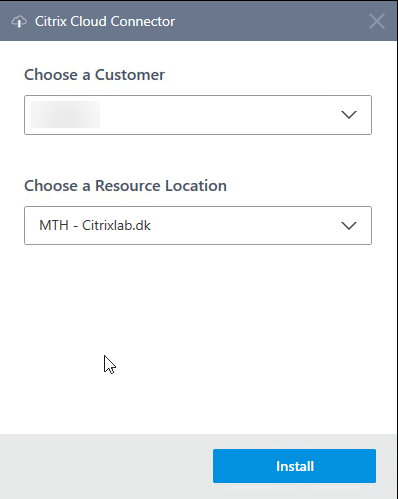
In my case, I must select which customer I want to install this for along with the resource location. If you only have one resource location and one customer this won’t pop up. As you can see I have selected the resource location I created earlier called “MTH – Citrixlab.dk” when selected hit “Install”
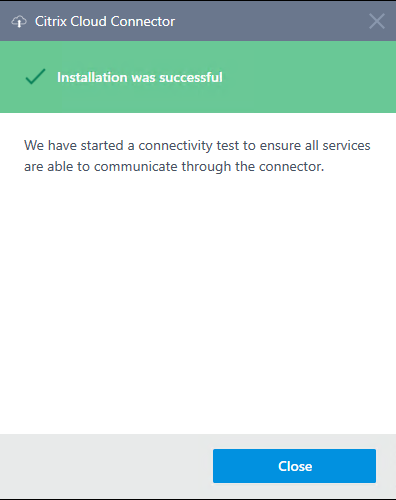
After the installation completes you will see the screen below. Click on “Close” to finish the installation”.
When the installation closes it will check connectivity towards Citrix Cloud, and this can take a few minutes to complete. It will be showing the screen below while testing.
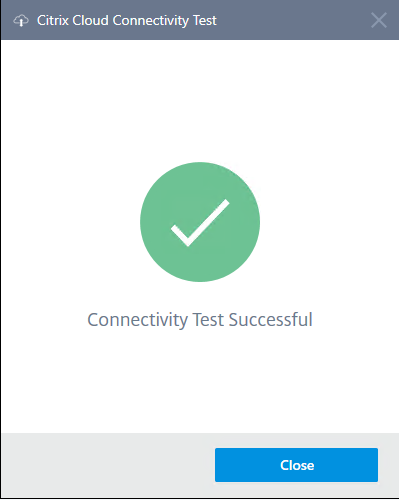
When the test is successful you will see the screen below and you can hit “Close”
To verify the connectivity inside Citrix Cloud homepage you can click on your resource location and check the status on the connector. It should look like the screenshot below. The warning you can see is because I only have one Citrix Cloud Connector and should always have a minimum of two per resource location.

Summary
Now we have our Citrix Cloud Connector virtual machine up and running in Azure and that means we are now able to install the virtual desktop agent onto your template machine. It is important to have at least two Cloud Connectors per site you install VDA’s on, but since this is a demo environment, I will just have the one I just installed.
This wraps up part 1 in this blog series, the next part will be on installing the VDA onto our template machine in Azure.

the other parts doesn’t works! 🙁
Warning: preg_replace() [function.preg-replace]: Compilation failed: invalid range in character class at offset 4 in /var/www/citrixlab.dk/public_html/wp-content/plugins/crayon-syntax-highlighter/crayon_langs.class.php on line 340
Hi Denis,
The site had an issue but it should be fixed now.
Thanks for letting me know.
Br
Martin